Design solves problems but what if not sure what to design IS the problem? When things feel unclear, I lean on a simple UX design process to stay focused. It gives me something solid to work from no matter if the project has a clear direction or we’re starting from zero.
So, if you need a simple structure to keep you focused, this guide breaks down the five steps you can follow to keep moving forward without spinning in circles. Each step will help you better decisions, and (most importantly) avoid overthinking everything.
You’ll see how to go from figuring out the actual problem to doing research, sketching ideas, and testing them with real people. I’ll also include some quick examples with hypothetical app projects to show how it all plays out in real life.
1. Define

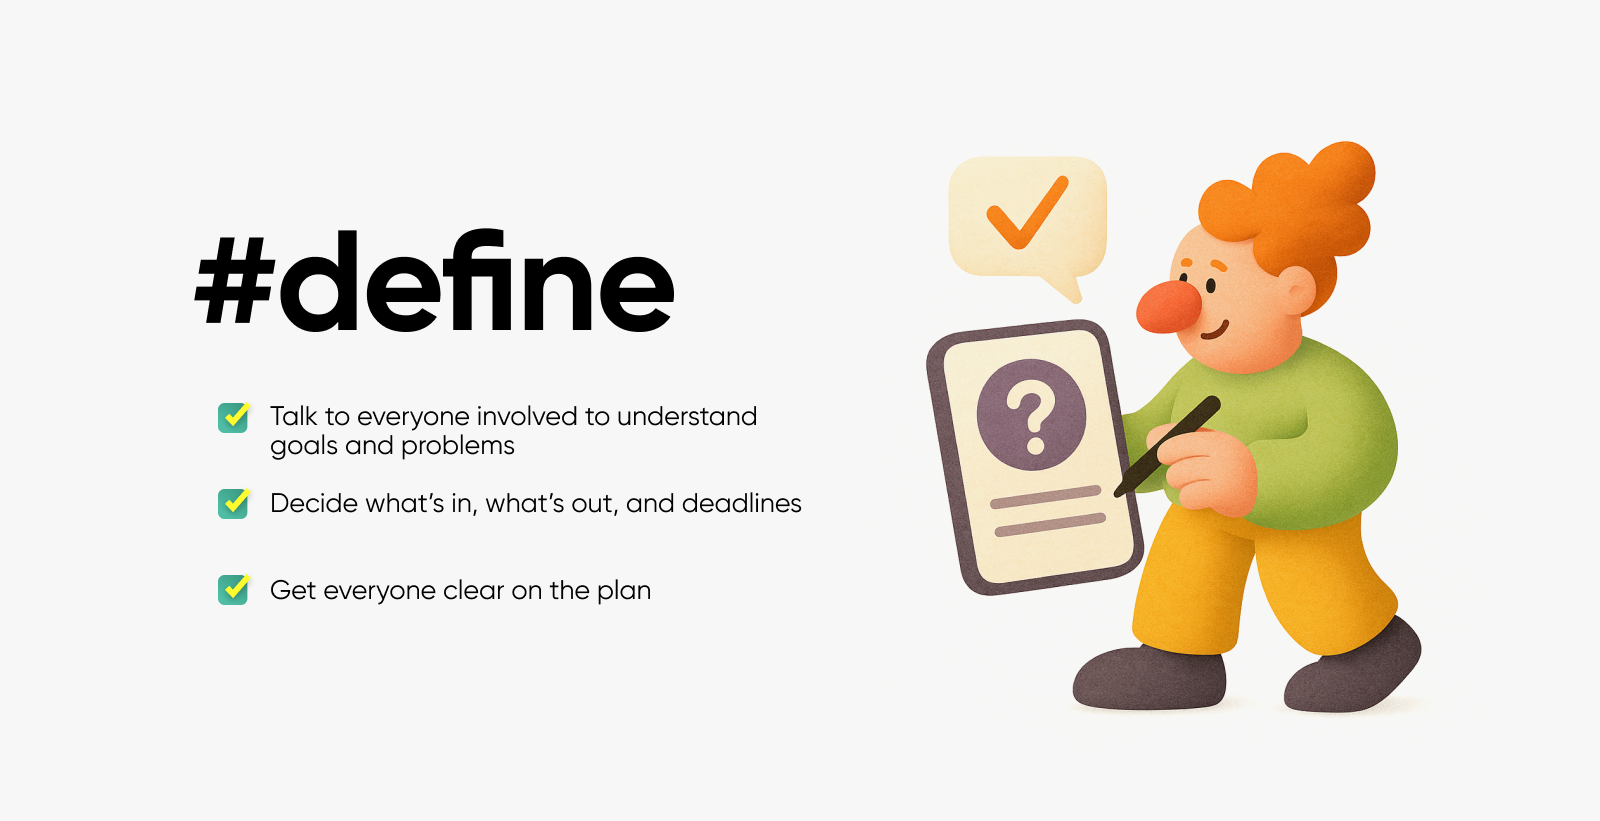
Before anything else, you’ll need to figure out what you’re building and why. That means talking to all stakeholders: clients, product managers, maybe even customer support reps.
This involves asking a lot of questions. Who’s this for? What’s the main goal? What are we trying to fix? Here you will also outline what’s in scope, what’s not, and when things need to happen. Everyone should leave this stage knowing what we’re doing and where we’re headed.
Practical example:
If I’m designing a mobile banking app, I’ll start by talking to customer support reps to find out the common questions and frustrations users have. Then, I’ll meet with the product team to understand what features they want, like easy bill pay or quick balance checks, and who the app should serve, maybe busy professionals or students managing budgets.
Next, I’ll check out popular banking apps like Chime or Revolut, noting what makes their interfaces smooth and where users often get stuck—like confusing navigation or missing budgeting tools. With all that, I end up with a clear list of goals: simple login, fast transfers, clear transaction history, and maybe a spending tracker. That roadmap keeps the project on track from here.
2. Research

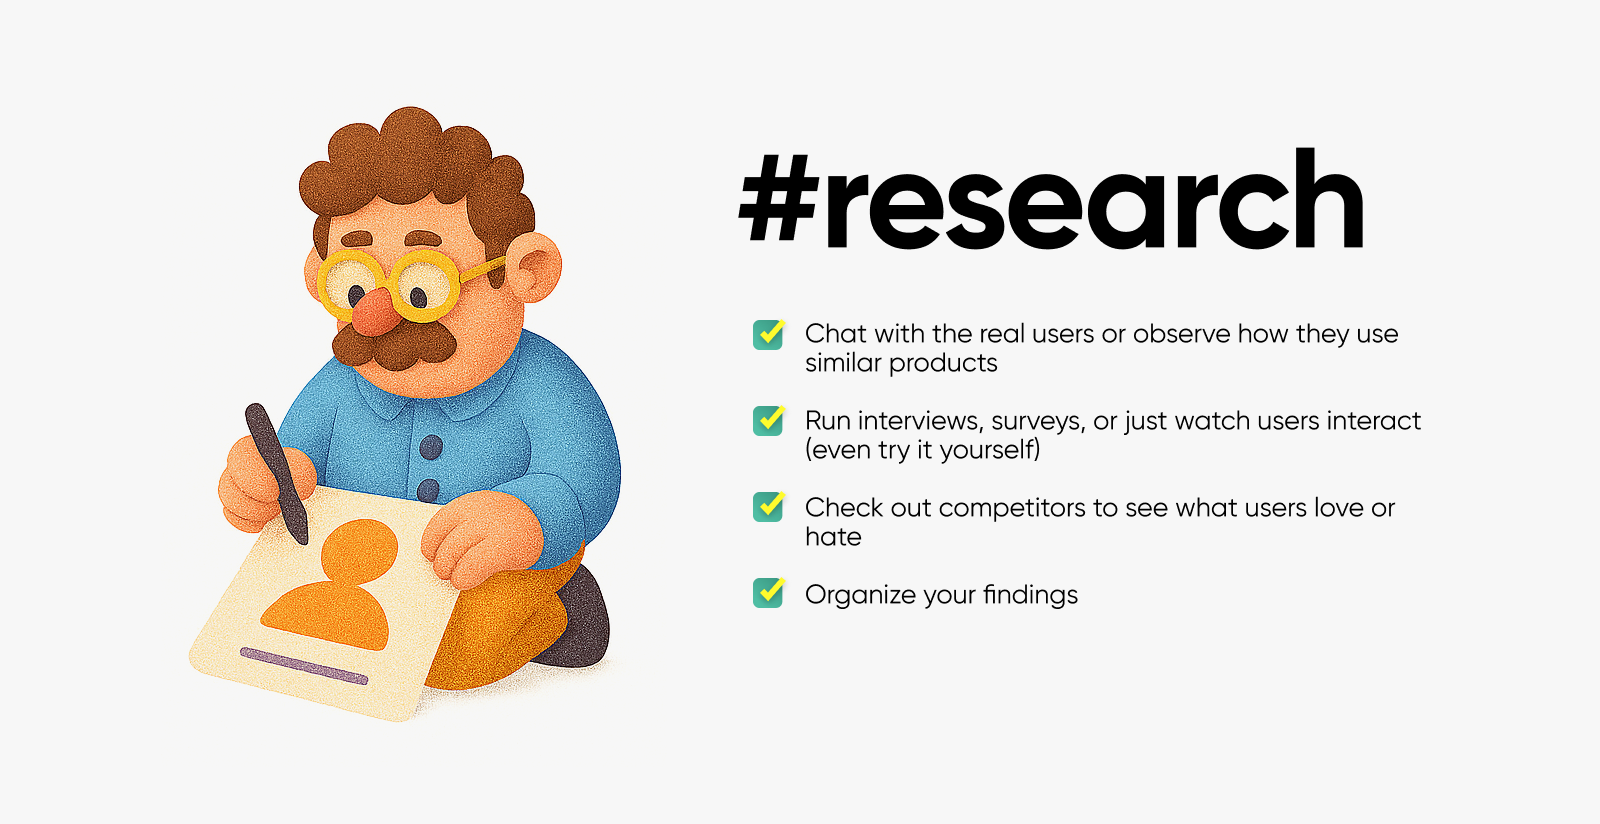
Once you know the direction, the next step for you is to turn to the people who’ll actually use the product, ask questions, and pay attention to what’s working for them (and what’s not).
If possible, consider even running interviews or surveys. If this is not possible in the specific case, you can just watch how people interact with similar tools (or interract with said tools yourself) then check out competitors to see what’s getting praise or complaints.
When you’re done with your research, it’s time to organize everything. Personally, I’ll create a journey map that shows how someone would use the product step-by-step. It helps me spot pain points and opportunities early on.
Practical example:
Let’s say I’m working on a grocery app. I’d start by chatting with busy parents who want quick meal ideas, college students grabbing snacks between classes, and professionals who shop on the go. I’d ask what slows them down, maybe long checkout lines, or confusing categories. Some might say they wish the app remembered their usual buys or suggested recipes based on what’s in their cart.
Then I’d map out their ideal shopping flow, like opening the app, quickly adding favorite items, scanning a barcode for easy restocking, and checking out with saved payment info. Then, I’d explore popular grocery apps like Instacart and Walmart Grocery to spot where they make shopping easy, maybe fast search or personalized lists, and where they fall short, like cluttered menus or slow delivery options. That way, I can figure out exactly what features to build and how to improve the experience.
3. Making Sense of the Research

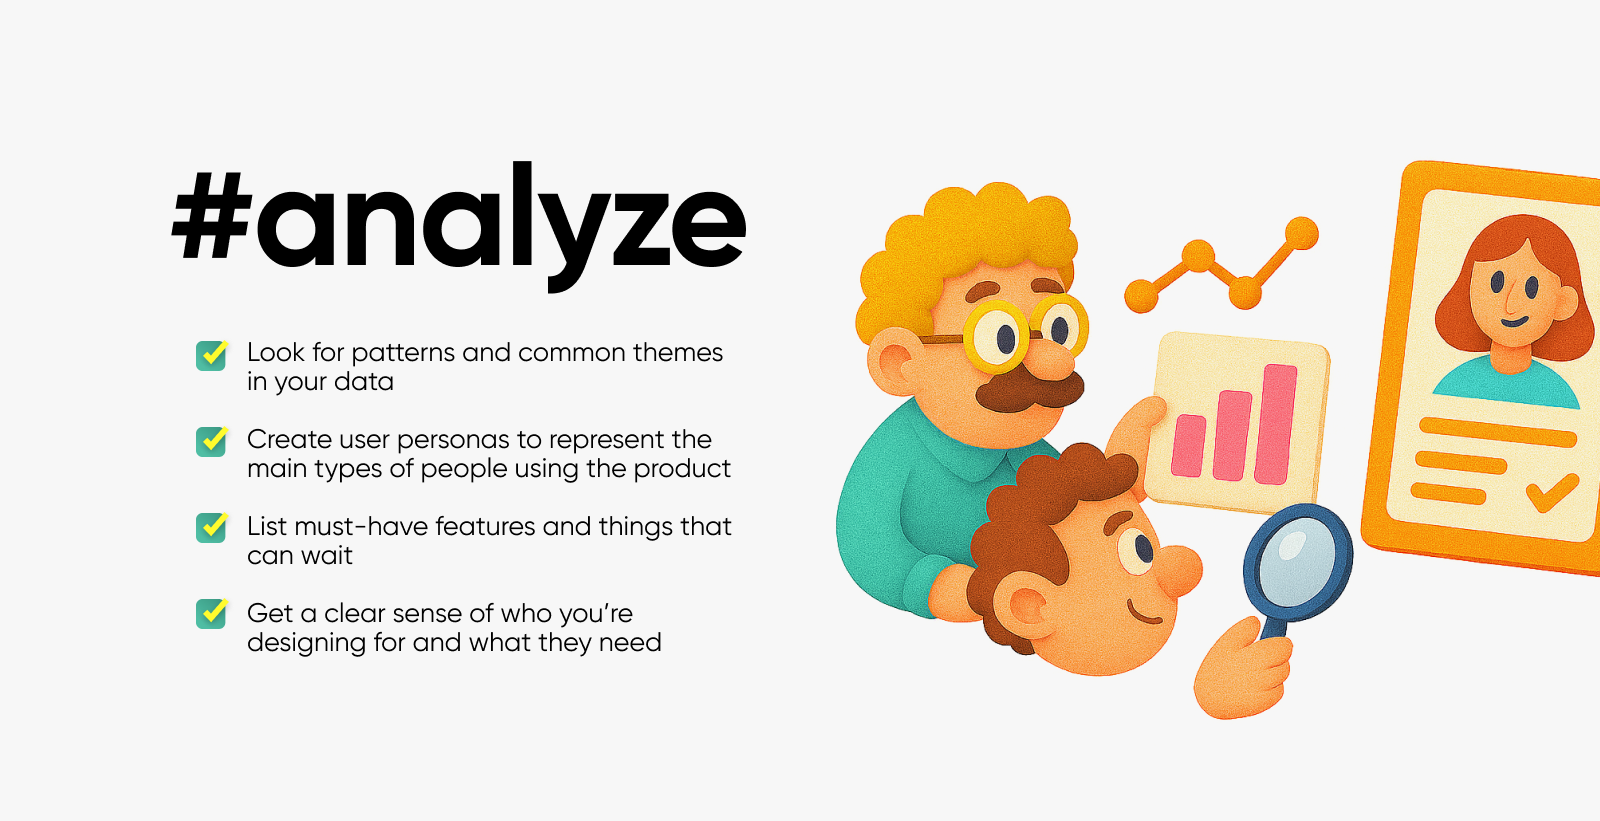
Once the research is in, you can sit down and start connecting dots. Patterns will pop up and you’ll get a clearer picture of who you’re designing for and what they actually need.
I usually build a few user personas based on the people I talked to. These help me focus on features that would make a real difference for them. At the same time, I will outline the core requirements: what the product has to do from day one, and what can wait.
Practical example:
Say I’m working on a fitness app and learn that busy users want quick, effective workouts. I’d design features like a “Quick Workout” section with routines that take 7, 12, or 15 minutes, each focused on different goals like strength, cardio, or stretching. I’d include a simple progress tracker showing weekly workout streaks and calories burned, so users can see their improvements at a glance.
For motivation, I’d add customizable reminders that send friendly messages like “Ready for today’s 12-minute burn?” or “You’re just one workout away from a new streak!” These will be the key features, so next I’ll add everything else like meal plans or social sharing.
4. Getting Ideas on Paper (and Screens)

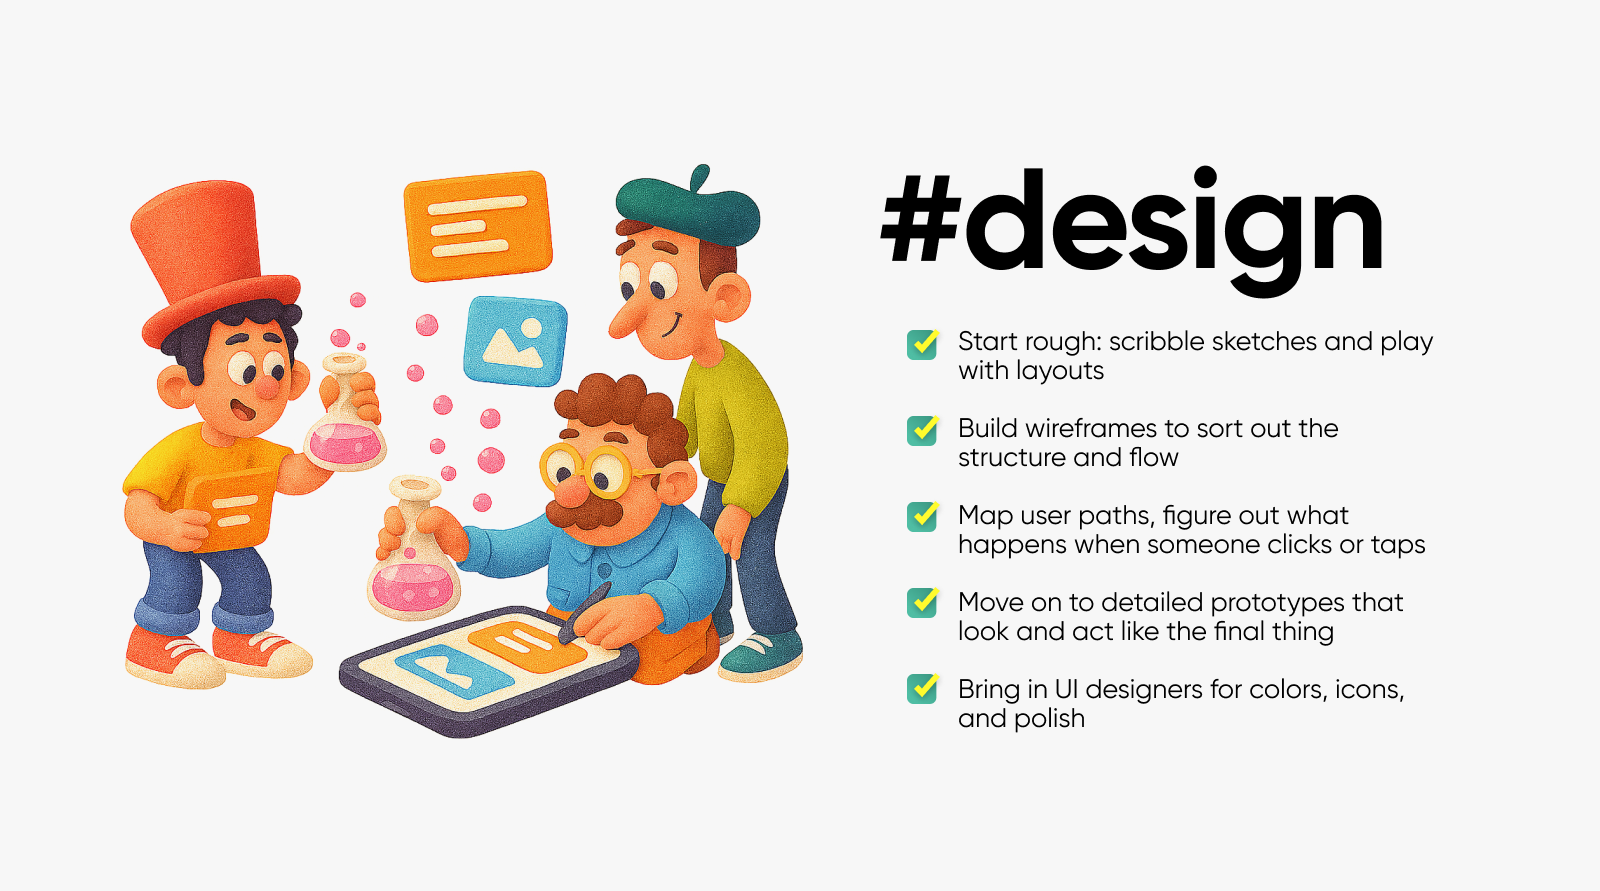
Now comes the fun part that is getting ideas out of your head and into sketches. You can start loose with just scribbles and rough layouts to see the different directions. Once you’ve got something solid, you can move on to wireframes to nail down structure.
Here’s where you’ll also map out how people move through the product. Click this, land there. Tap that, see this. You’ll want every step to feel natural.
Next up: high-fidelity prototypes. These look and feel like the real thing, with layout, content, and interactions all working together. You can test them, gather feedback, and make changes as needed.
If there’s a UI designer on the team, ask them to jump in to add color, icons, animations, buttons, etc.
Practical example:
For this example, I’m working on an eCommerce site for a small clothing brand. I’ll start by sketching a homepage with things like “Summer Essentials” and “New Arrivals” with a clear search bar and easy links to Men, Women, and Accessories sections. On product pages, I will focus on big images you can zoom in on, easy size choices, customer reviews, and an “Add to Cart” button that’s always visible.
When I have the map ready, I’m move to build wireframes to see how everything fits together. Then I map out the whole shopping flow as I imagine how the user interracts with the site from landing on the homepage, through browsing categories, picking products, adding them to the cart, and finally checking out. If you have a clickable prototype, share it with people and ask them to find a specific item, add it to their cart, and complete the purchase.
5. Test and Launch

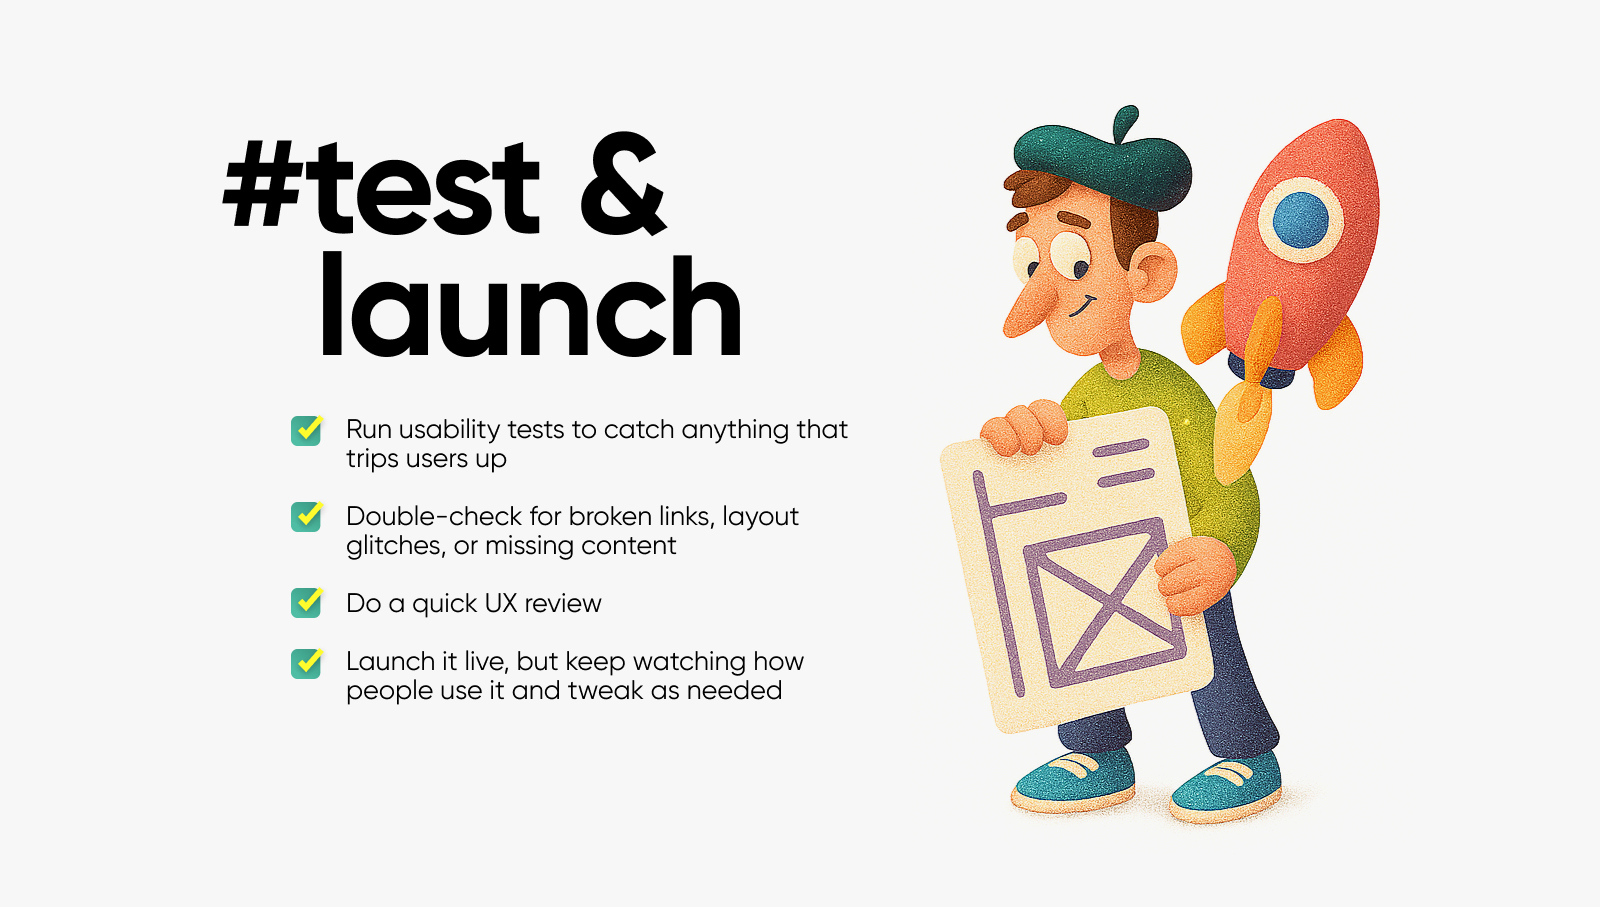
This is the wrap-up phase, but it still needs attention. Once you’ve got a working version, run the final usability tests to see how real people use it. That’s usually where hidden issues pop up.
Then go through a final check to make sure there are no broken links, no layout bugs, and no content that got left behind. You can also do a quick UX review to make sure the whole thing still feels smooth from start to finish.
Once everything checks out, it goes live. (Though, you’ll still keep an eye on how people use it)
And there you have it!
The whole UX design process is shaped around real users. Their input helps you from day one and keeps everything grounded. It also keeps the team in sync as everyone knows what’s happening and why. When surprises show up (because they always do), it’s easier to adjust without losing momentum.
Want more? I’ve shared extra tips and stories in other UI/UX posts: