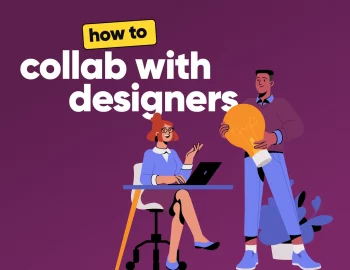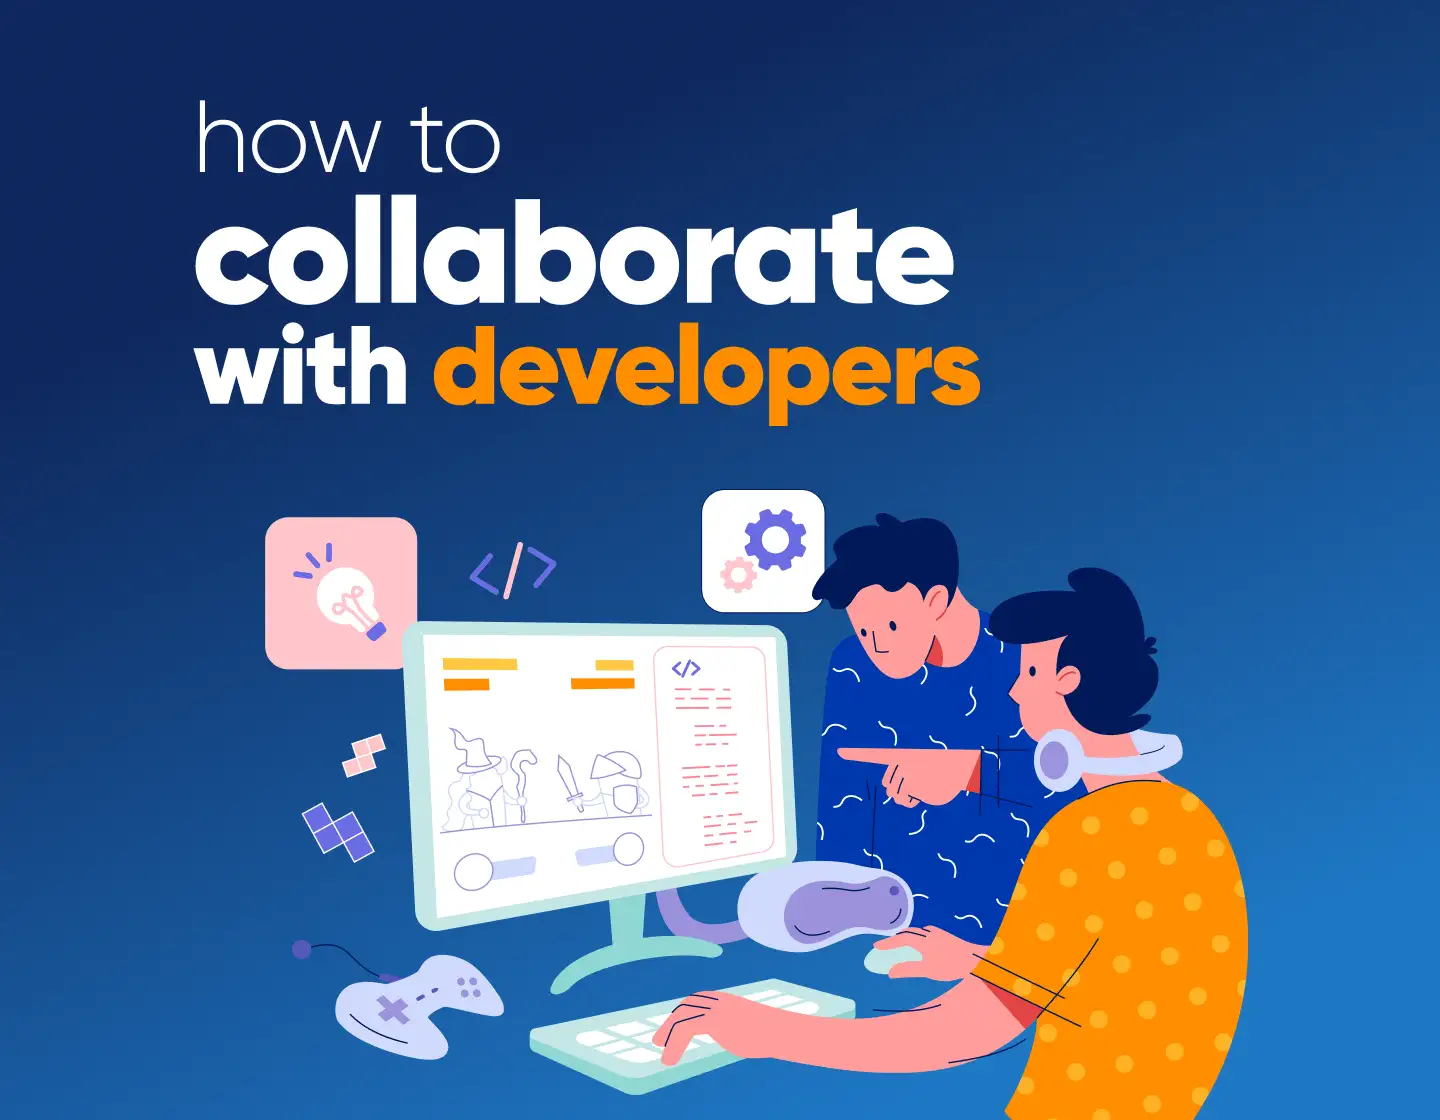
In this pocket guide to collaborating with developers, I’ll share 8 practical tips (with examples) on how to communicate your designs to your development team without losing your mind.
Suppose you’ve ever handed off a design to a developer and felt like you were speaking an entirely different language, well, same. As designers, we approach problems from completely different angles compared to developers. We’re usually focused on aesthetics and user experience, while coders prioritize functionality. And let’s be honest, sometimes it feels like developers are on a mission to crush your design dreams with words like “performance issues” and “that’s not feasible.”
But here’s the thing: when designers and developers work together well, launches happen faster, and everyone’s happy. But developers aren’t just these overly rational people who want to “make it work”. They are also creative and bring their own artistic problem-solving skills to the table, and the more we understand how they think, the better our own designs are going to be.
So, how do you make developers’ lives easier (and yours, by extension)? Let’s break it down, fellow designers; this one’s for you.
1. Work side by side with a developer
While designers focus on usability and aesthetics, developers deal with logic, structure, and constraints. In short, what looks simple in Figma might be painful in code.
To collaborate effectively, it’s time to understand how developers think:
Their job is to solve technical problems within a structured framework. Every decision they make about performance, security, maintenance, or anything else affects how the design was done and how it will function in the future. Code, however, has limitations, and some creative ideas might be challenging or take more time to implement than the project timeframe allows. This is a reality you need to acknowledge.
And the best way to walk in your developers’ shoes is to work with them for a while, even if it’s one hour a week. Just to sit next to them and see how they implement your designs. It will help you see the challenges they face and will definitely influence your design decisions over time.
Practical Example:
You’re designing a custom animated button with multiple states. It looks great in your prototype, but when the developer starts implementing it, some of the transitions are tricky to code. Instead of endless back-and-forth messages, you sit down together. The developer explains the limitations, and you adjust the animation without sacrificing the design. As a result, you get a functional, great-looking button.
2. Learn the basics of version control
Designers and developers often work in parallel, but there should be a clear way to track changes, or else things can get messy. That’s where version control comes in. Developers use systems like Git to manage changes in the code, to collaborate amongst each other, bring back previous versions, and avoid overwriting each other’s work. Of course, you don’t have to become a Git expert, but you should understand how it works.
It’s something similar for designers with newer design tools that have history and versioning features, but in development, it’s been the norm for years.
GitHub, for example, offers a very good step-by-step guide on how to create and use a repository and everything you need to know about GitHub’s pull request workflow.
Practical Example:
You hand off a set of UI assets, and a week later, they need a small tweak. Instead of sending the new file over email (which could confuse which version is correct), you can update the design in a shared repository. The developer will be able to pull the latest version without interrupting their coding process.
3. Handoff designs with specific instructions
A sloppy handoff can lead to confusion, rework, and frustration on both sides, but a good one will cut the guesswork.
Start by annotating your designs with details about interactions, animations, hover effects, and spacing rules. A static design file doesn’t tell the full story,y but developers still need to understand how elements behave. For example, instead of just designing a button, specify: “On hover, the button background changes from #FFF to #EDEDED over 200ms.” The more precise you are, the better.
Also, prepare your assets properly in the right formats and sizes.
Practical Example:
For example, you’ve designed a landing page with a dynamic hero section where text fades in and a button has a subtle animation. Instead of assuming the developer will figure it out, you can provide a simple note: “Text fades in over 0.5s using an ease-in-out transition. The button scales up by 5% on hover.” Now, the developer knows exactly what to do without guessing.

4. Give developers responsive designs
In many cases, developers make the responsiveness based best practices, but this in itself isn’t the best practice. After all, you are the designer, and you have the best vision of how your design should look on mobile.
This is why, instead of delivering a single desktop layout, create variations for different breakpoints. If you can, provide a mobile-first design or at least wireframes showing how elements should behave at different sizes. Even a simple note like “Reduce heading size from 48px to 32px on screens below 768px” makes a huge difference.
Practical Example:
You’ve designed a pricing table with three columns. On mobile, do they stack vertically? Should users be able to swipe through them horizontally? If you don’t specify this, the developer might make an assumption that doesn’t align with your intent. A quick note like “Stack columns into a single column on screens below 600px” will immediately cut the guesswork.
5. Explain the reasoning behind your designs
When you hand off your design, explain what the user is trying to achieve or what problem a particular layout solves. Or why is a button placed in a specific spot? Is it because it’s the most accessible option, or does it guide the user toward an action? This is important context!
This is also important when you’ve made trade-offs like prioritizing readability over a fancy animation or choosing a particular layout for accessibility. Just let the developer know so if they need to adjust something during coding, they can do it in a way that still aligns with the intent of the design.
Practical Example:
Let’s say you’re designing a checkout page, and you’ve placed the “Continue” button in a sticky footer at the bottom of the screen. If a developer doesn’t know why, they might assume it’s just for looks and decide to place it somewhere else for easier coding. But if you explain, “Keep the button visible at all times; it reduces drop-off rates by 15%,” they’ll understand its importance and find a way to make it work.
6. Use real content, not placeholder text
If your layout only works when every headline is the same length and every image is perfectly cropped, you’re setting the developer up for trouble.
Design with real content or at least realistic placeholders. This way, you can test your layout with different headline lengths, varied image sizes, and actual product descriptions.
Practical Example:
Say you’re designing a profile card for a team page. Instead of using “John Doe” as the name, test it with longer names like “Aleksandr Kuznetsov” or “Samantha-Marie Johnson” to see if the layout still holds up. If a developer sees you’ve accounted for different name lengths, they’ll know the design is ready for real-world content and won’t have to make last-minute fixes.
7. Check the technical limits before you finish the designs
Before you finish any layout, animation, or interaction, check in with the developer for a quick chat. Ask if it’s feasible within the project’s tech stack.
The developer might tell you that some of the elements require complex JavaScript or that a particular effect could impact performance. This way, instead of discovering these issues too late, you can work together to find a solution quickly.
This also opens the door for developers to suggest alternative methods on how to achieve the same effect with less effort.
Practical Example:
Before finalizing a homepage hero section with a 3D animation that plays on scroll, you check with the developer, who points out that WebGL would be needed, but the project doesn’t support it. They suggest using an animated SVG or CSS transform to achieve a similar look with better performance. Problem solved!
8. Build a reusable design system
A design system is the toolkit that keeps designs consistent and speeds up development. You don’t need to reinvent the wheel for every button, card, or modal, but you can pull from a shared set of components.
When your design system includes clear documentation, developers don’t have to guess margins, colors, or spacing. They can reference the predefined components. This also makes future updates easier since a single change in the design system updates everything at once.
If your team isn’t using a design system yet, start small with elements like typography, button styles, and spacing rules.
Practical Example:
A developer needs to build a new signup form, but instead of asking for font sizes, border-radius values, and button styles, they can check the design system, get the pre-defined input field and button components, and build them in minutes.
And there you have it! At the end of the day, collaborating with developers is not a game of tug-of-war between creativity and functionality. Think of it like a band where you and your fellow designers are the musicians creating the melody, and developers are the sound engineers making sure it plays perfectly. When both sides know how to jam together, the result is a total hit.