


The guide to what a website wireframe is, how to create one step by step, and which tools to use (with real examples, and starter UI kits).
Let’s talk about wireframes. If you’re building a website or thinking about it, wireframing is a step you really don’t want to skip. I remember when I first started working with wireframes, I wasn’t exactly sure what I was doing, but I quickly realized how much easier the whole design process became once I started using them properly.
If you’re still figuring out the true potential of wireframing, go through the guide because it packs everything, like the basics, a breakdown of the differences between wireframes, mockups, and prototypes, and has some real examples. You’ll also learn what the types of wireframes are out there and what a typical wireframing process is, step by step. In the end, I’ll also share some wireframing tools that can automate some of the hard work.
What even is a wireframe?
Basically, it’s a rough sketch of your website’s skeleton, something like a layout map. You’re deciding where things go, like headers, menus, content blocks, buttons, and all the other interactive bits. Usually, wireframes don’t include colors, fonts, or graphics, because they focus on the structure only.

These simple layouts also make conversations with clients or teammates a lot easier, because everyone can see the same basic structure and give feedback before you actually start making the design decisions.
Why do you need to start with a wireframe?
I wouldn’t recommend skipping the wireframing step, and here’s why:
It helps you map things out early.
Wireframes will give you a quick visual of the layout so you’ll see how content will be organized and whether things feel balanced or clunky. If anything’s off, you can catch it here instead of later when changes are more time-consuming.
It keeps the focus on the user.
When you’re not worried about styling yet, you can really lock in on how someone will interact with the site. Does the navigation make sense? Are the buttons easy to find? Wireframes will help you answer those questions early.
You can try out ideas fast.
Because wireframes are so quick to put together, you can test different layouts or content structures without getting stuck in the details. It’s your space for experimenting before you move on.
It makes working with others easier.
There’s less room for confusion when everyone can literally see how the structure will look.
It saves you time later.
I’ve learned the hard way that fixing layout problems once a design is fully styled takes a lot more effort. Wireframing lets you spot and fix issues when they’re still easy to change.
Is wireframing UI or UX? (Spoiler: It’s Both!)
UI and UX are two areas that get lumped together all the time, but they handle different parts of the design puzzle. Meanwhile, wireframes can help both sides do their thing properly.
On the UX side, you look at how people move through the site or app, what they expect to find, how easily they can get from point A to B, and whether the whole experience makes sense. Wireframes help map that out as you sketch the flow, test it, and adjust it without getting distracted by visuals.
In terms of UI, you’re focused on the visuals, where stuff goes, how buttons look, how text lines up with images, and so on. Wireframes here will help you plan that out without jumping straight into colors, fonts, and branding.
If you’re still wondering how UI and UX split their tasks, I’ve actually got a guide that breaks it all down, roles, tools, the whole shebang.
Wireframe vs mockup vs prototype
These three terms get tossed around a lot, and I’ve even heard people call a sketch a prototype (it’s not). So here’s what each one actually does in a design project.
Wireframes

These are the first things you create when you need to plan a layout. They’re usually black and white (or gray if you’re feeling fancy) and don’t bother with fonts, colors, or images. You’re just blocking out spaces for things like navigation, buttons, and content sections, like a rough draft. These can be anything from a hand-drawn sketch to a digital skeleton.
Mockups

Once the layout feels right, you’ll proceed with the mockup. Here things start to feel final. You’ve got your fonts, colors, images, and spacing in place. You have styled it to match the brand, and it looks like a screenshot of the actual site or app. There’s no interaction, though, as it’s still static.
Prototypes

If you want to show how things work, not just how they look, you can build a prototype where you add basic interactions like clicking a button to move to the next screen or opening a dropdown. Prototypes can be super simple or really detailed, depending on how much testing you want to do or what interaction you want to show your client.
They’re great for spotting usability issues early and getting feedback from actual users before anything gets built.
Types of wireframes

You can use different types depending on how far along the project is and what you’re trying to figure out. Some are super rough and meant just for you, others are a bit more polished and ready for feedback.
Quick sketches (hand-drawn)


When you need to get ideas out of your head fast, go for a simple pen-and-paper sketch or open a simple drawing software. It’s messy, but that’s kind of the point because you’re only thinking about layout and what goes where.
A bit more structured (detailed sketches)
If you’re sticking with pen and paper but want something easier to share with others, add notes and labels to those quick sketches. It helps explain what you’re thinking without making things look final, but also shows your intentions.
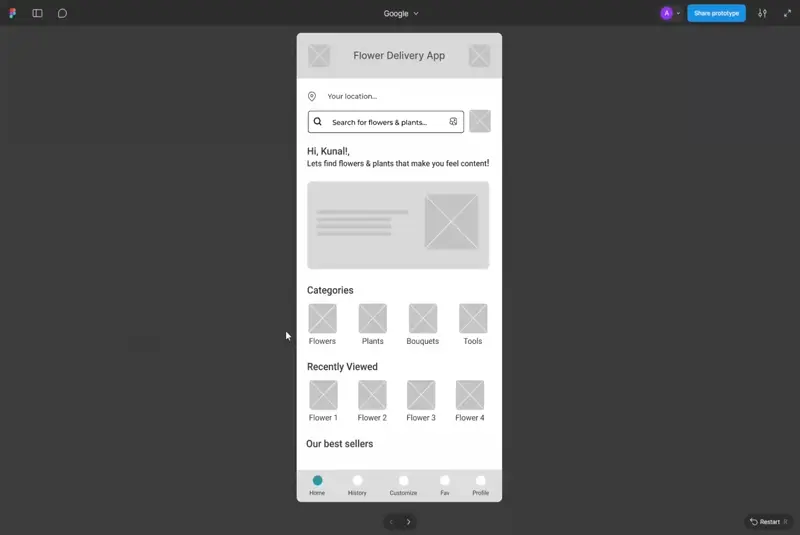
Low-fi (but digital)

Once you move to digital tools, you can start with low-fidelity wireframes. These are clean, boxy layouts that have no colors or visuals, mostly placeholders.
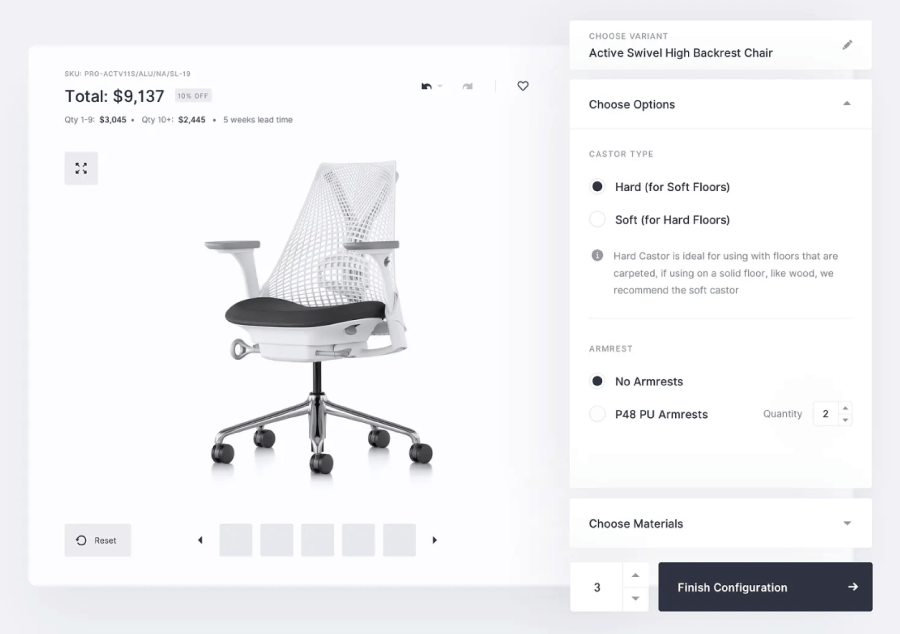
More polished (high-fidelity digital wireframes)


A high-fidelity wireframe is still technically a wireframe, but it’s stepped up a notch. You’re still focused on layout and structure, but now you’re layering in things like real fonts, a bit of color, maybe even a few images. It’s not fully designed, but it’s polished enough to walk someone through the experience and get feedback that goes beyond just the basic layout.
Clickable wireframes
This one adds a bit of interaction. You use it when I want to test how people navigate a layout. Buttons might be clickable, pages might transition, but only the basic stuff to spot early issues before moving into full prototypes.
Wireframe mockups

A wireframe mockup sits in the middle of the design process. It’s not quite a wireframe anymore, but it’s not a finished mockup either. You’ve started playing with the look, such as typography, color schemes, etc, but you’re still treating it like a draft. The idea here is to try out a direction and get input without locking anything down yet.
How to create a wireframe
Here’s how I usually do wireframing for a website, step by step, but keep in mind that this is mostly a personal preference, so you can tweak the process as you like to fit your workflow better.
Start with the big picture
Before anything else, take a minute to figure out the goal. What’s this site for? Who’s using it? What absolutely has to be there? These questions lead to everything that comes next.
Do a little homework
In the meantime, browse around to check out sites you like or designs that fit the same vibe to collect ideas you think may work (or not) for this specific project.
Map out the content flow
Next, think about hierarchy, what comes first, what gets attention, and how people will move through the page. I recommend you to sketch this out roughly, just to make sure the structure makes sense.
Rough it out on paper
Grab your notebook or open Figma or any wireframing app (depending if you’re feeling analogue or digital) and plot out the layout. It doesn’t need to look good, but it needs to work.
Clean it up
Once you’re happy with the rough version, rebuild it in a cleaner format. Here you’ll line everything up, adjust spacing, and double-check that it matches the project’s goals. Don’t bother with the color or heavy styling yet.
Build a higher-fidelity version
If you need to show how the page might really feel, add in some fonts, colors, and maybe sample images. It’s still a wireframe, but more polished and closer to the final design. Great for walkthroughs and branding alignment.
Make it click (if needed)
Depending on the project, you may or may not add a few clickable parts such as navigation, buttons, or a simple page transition. Another important thing that helps people get a better sense of how the site will feel in action.
Get some feedback
This is a good time to share your progress with the team or the client. The goal here is to hear what makes sense, what doesn’t, what’s missing, and take those comments to go back in to adjust things.
Add notes for clarity
Sometimes you might need to throw in comments or little labels to explain things like what a button’s supposed to do or why a certain section looks the way it does to avoid confusion later.
That’s it! You now have the working draft, and you can easily move to designing the actual final look (mockups and prototypes).
What should be the size of your wireframe?
One of the things I always keep in mind when wireframing is screen size. Phones, tablets, and desktops come with their own screen resolutions, and that affects how things are going to look and feel. To make things worse, even something like resizing a desktop window can break the layout if I haven’t planned properly.
First off, I recommend you stick with pixels instead of inches or points. Pixels give way more control when you’re working in design tools.
For mobile wireframes, 375×812 pixels is still a solid choice. It matches the resolution of many phones and gives a clear idea of how things will feel on a typical device.
For tablets, there’s a bit more wiggle room. If you’re wireframing for something like an 8-inch tablet, 834×1112 pixels works well (that’s around the size of an iPad Mini). For larger tablets, think 10 inches or more, something like 1280×800 or 1280×1024 can give you a better sense of the room you’re working with.
Now for desktops, I’d bump things up a bit. These days, 1440×1024 or 1920 width is a safer baseline. Most people aren’t browsing on tiny laptop screens anymore, so it’s good to give your layout more breathing room. Still, you don’t need to go full 4K as this is a wireframe, after all. The goal here is to get a realistic sense of layout and flow, not to polish every pixel.
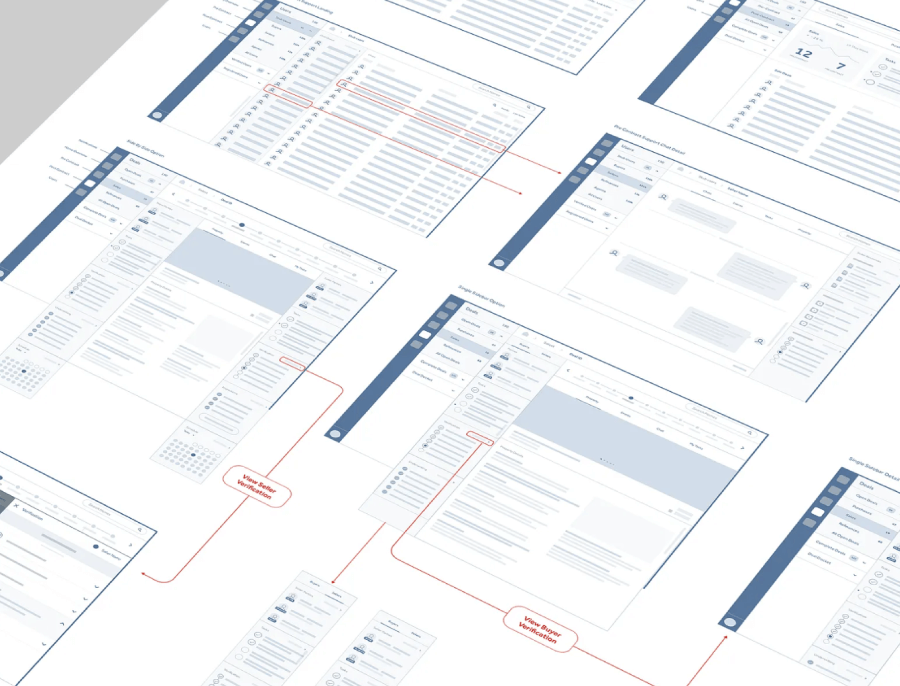
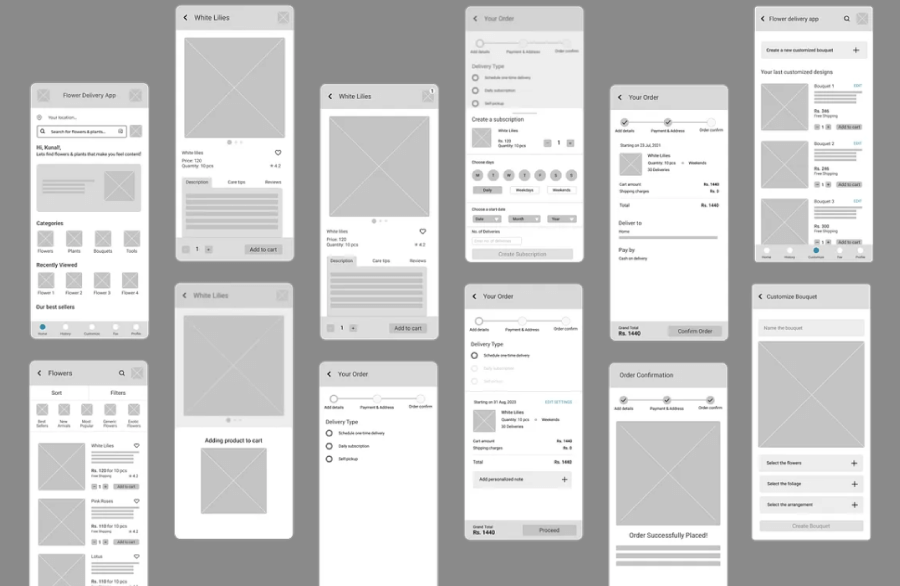
A quick peek at wireframes in action
I’ve found a few examples online that really show how useful they can be. What I love about these wireframes is how clearly they map out the layout. You can see where the navigation sits, and how the content is arranged without the distraction of full visuals. Then, when you compare that with the finished website, it’s easy to spot how the wireframe influenced the final product.
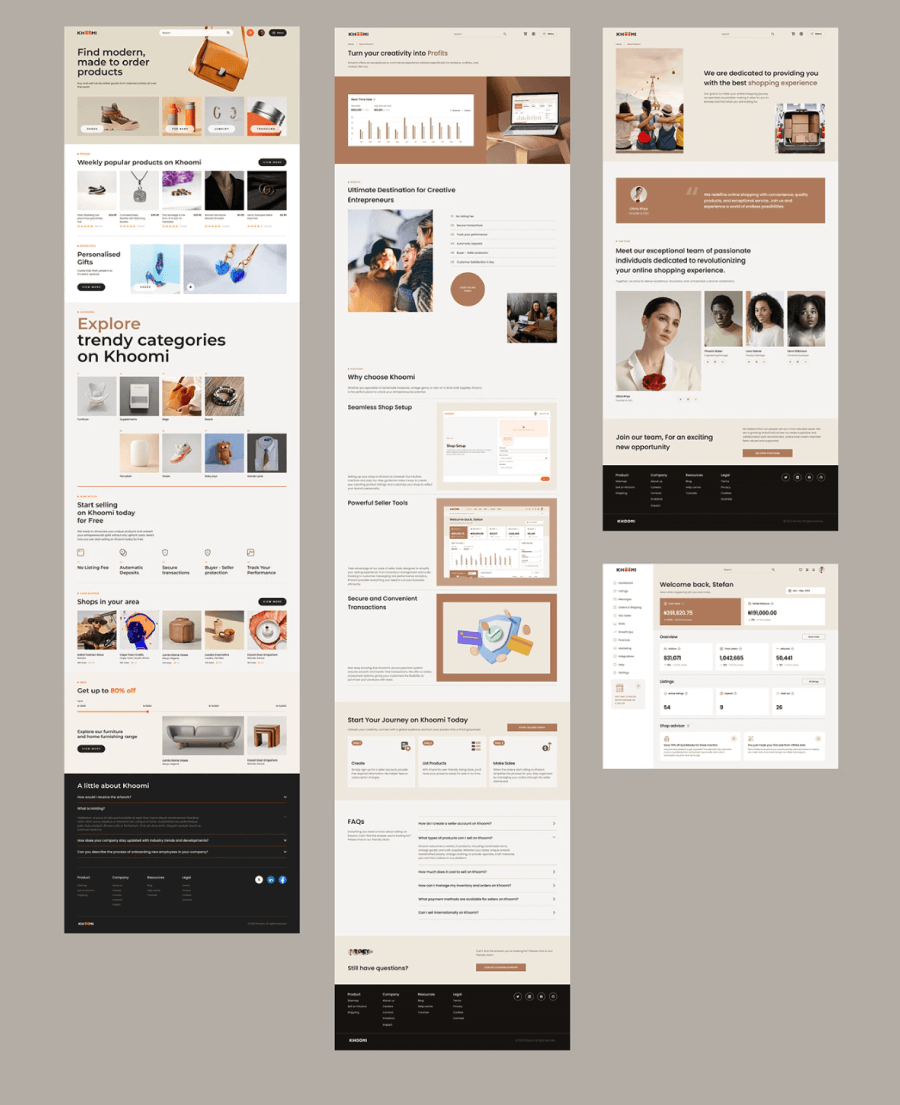
I’ll start with the wireframes and final mockups for an eCommerce project by Oleg Savchuk for the Khoomi shoes brand.
Low-fidelity wireframes:

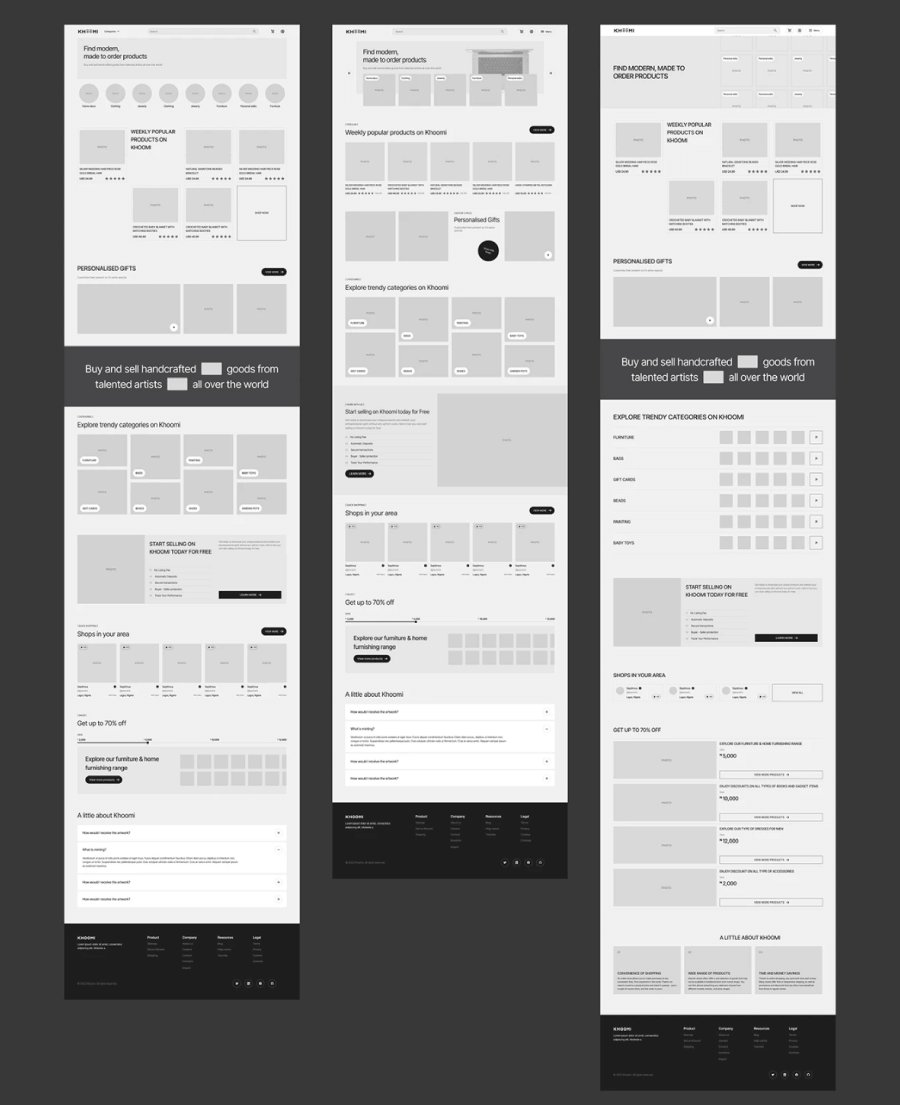
The final product:

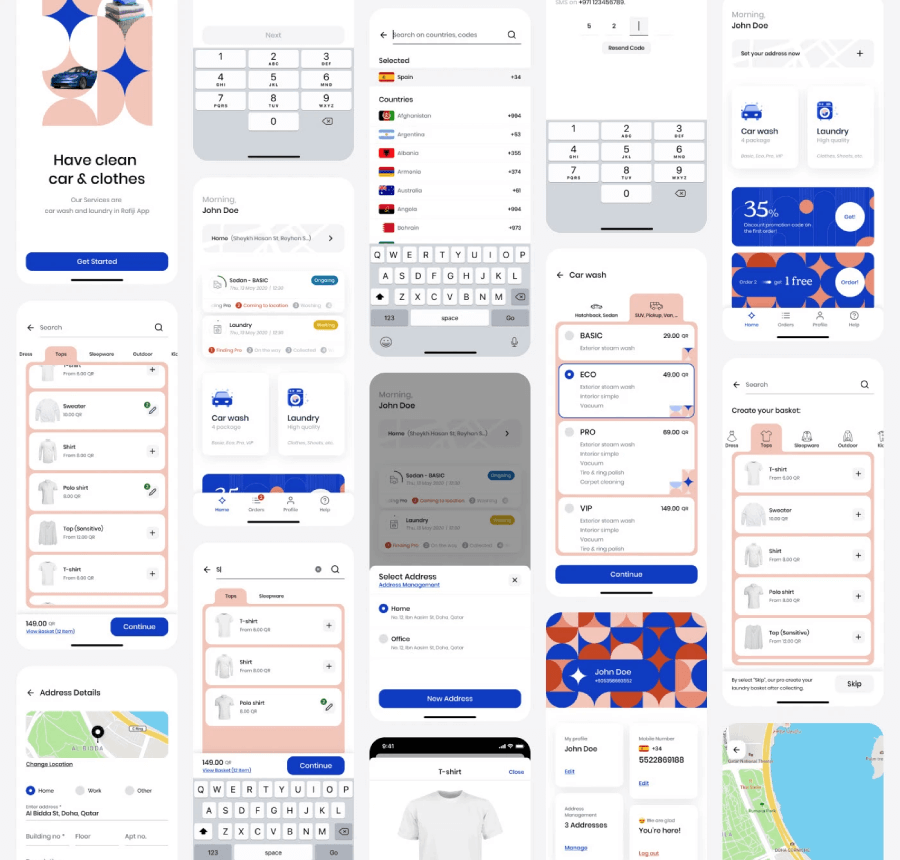
Next, the wireframes vs the final product for a car wash service app redesign by Farshid Darvishi.
Low-fidelity wireframes:

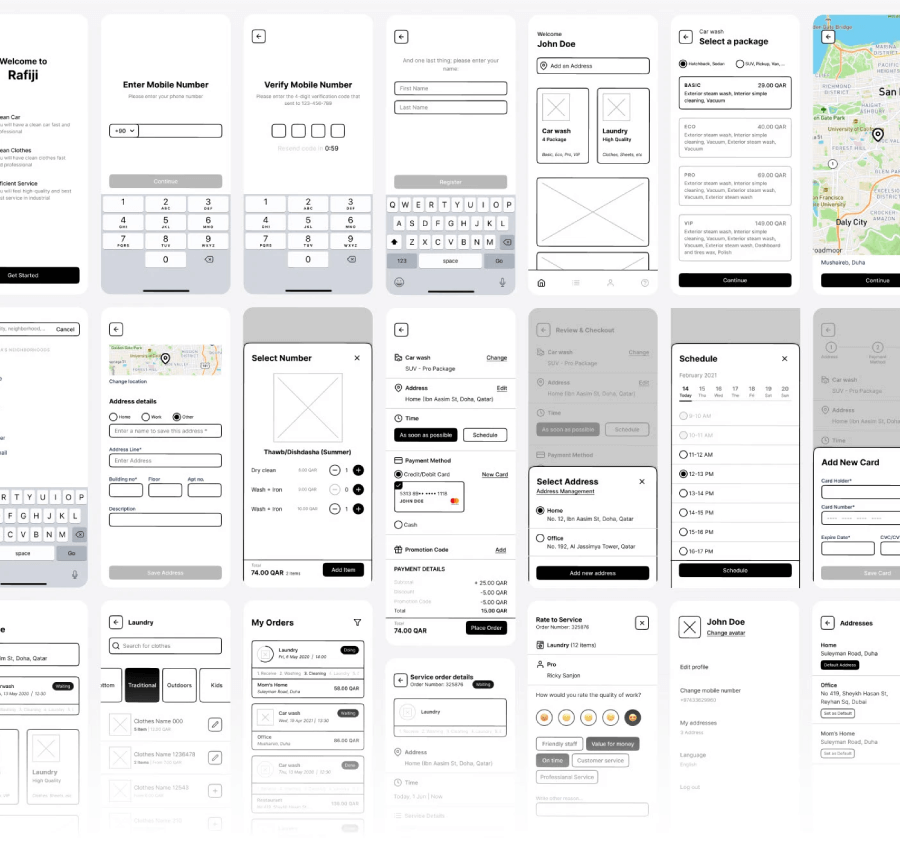
The final screens:

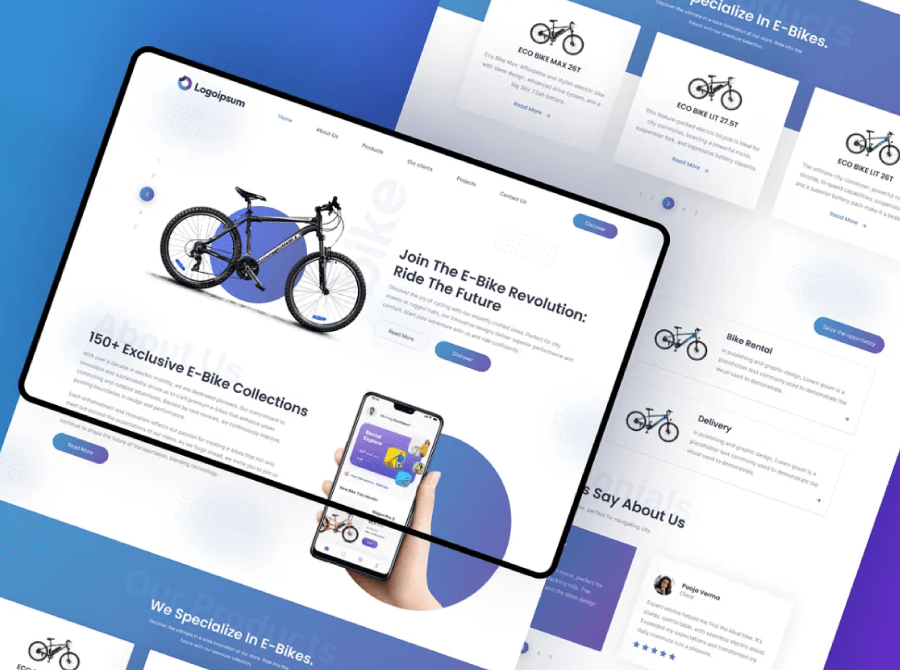
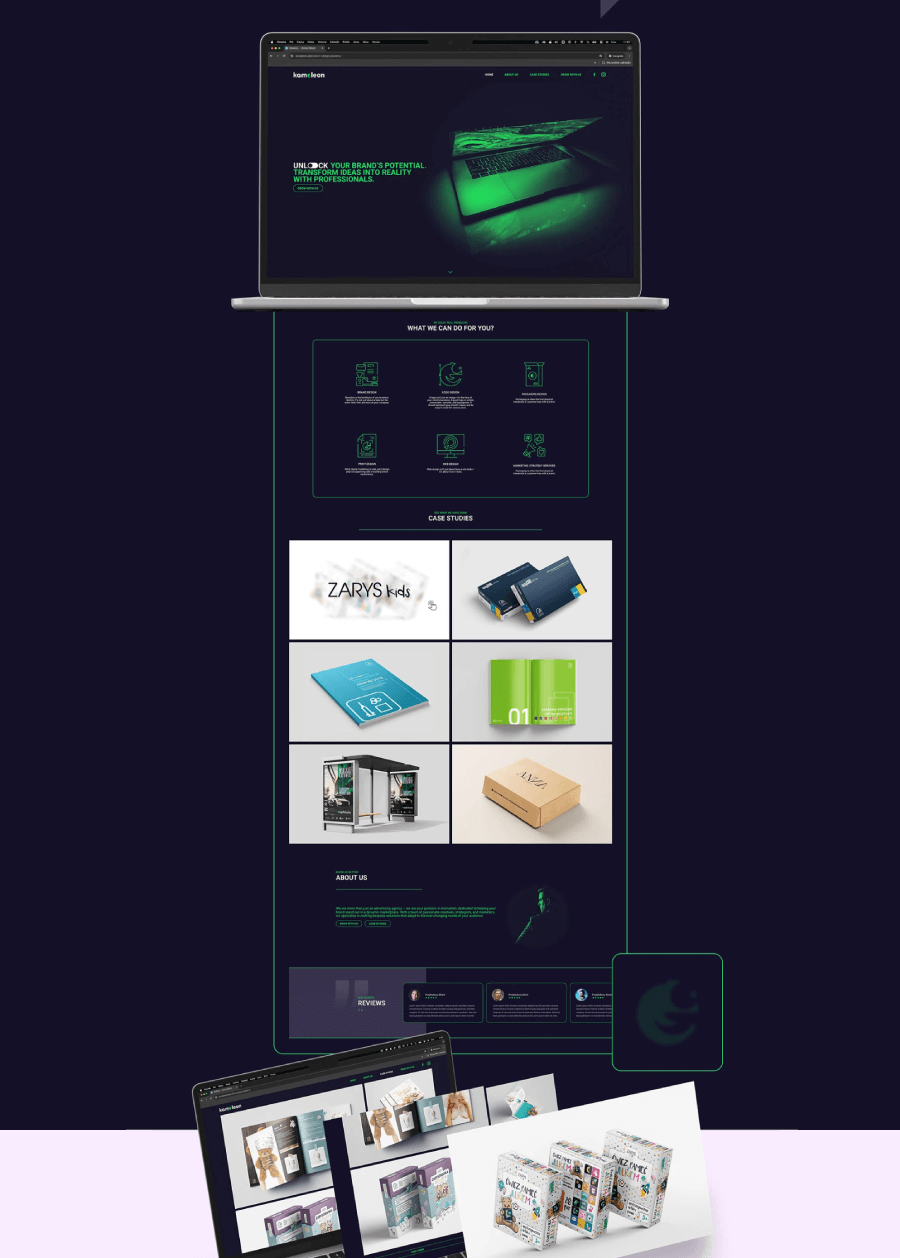
Web design project for Kameleon agency portfolio website by Arkadiusz Kątny.
Low-fidelity wireframes:

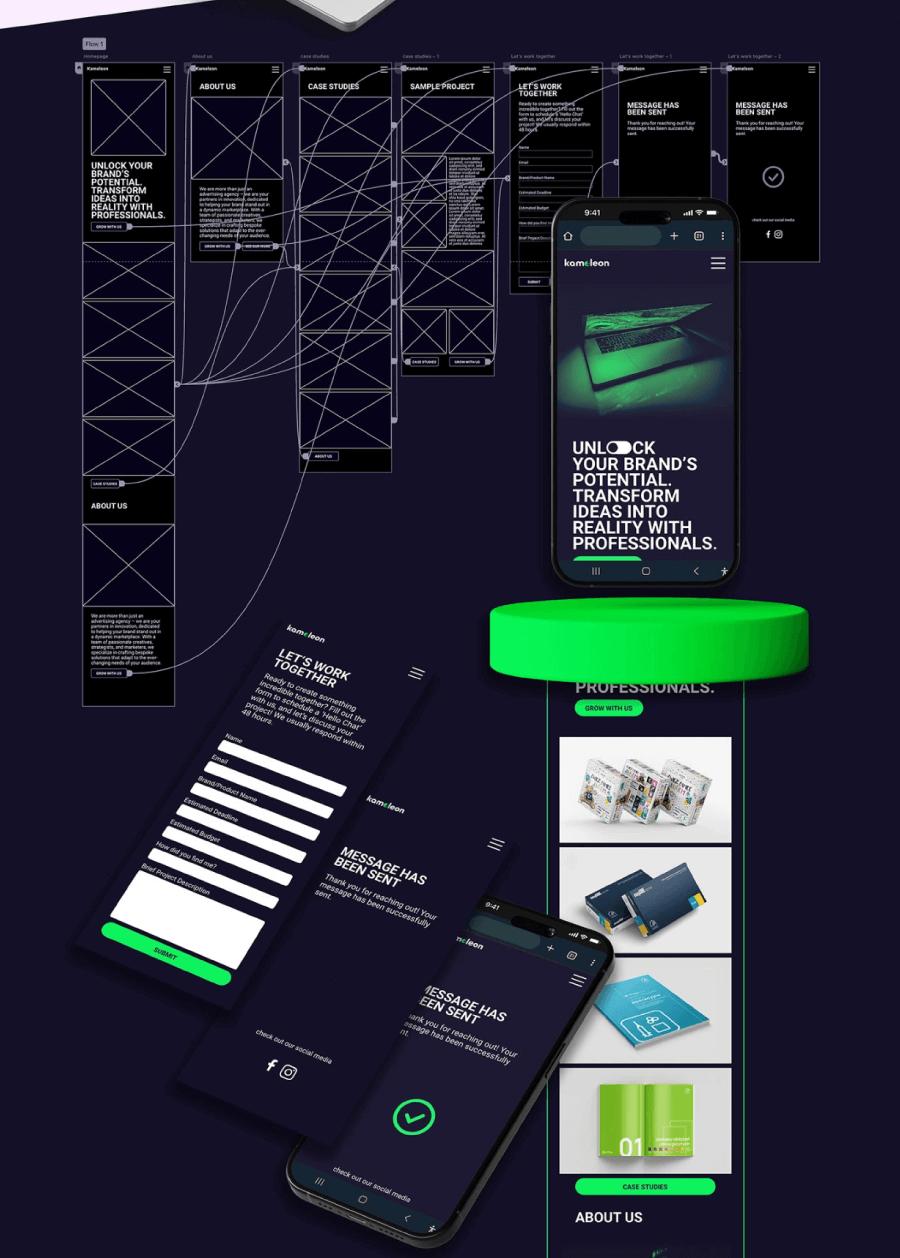
The final product:

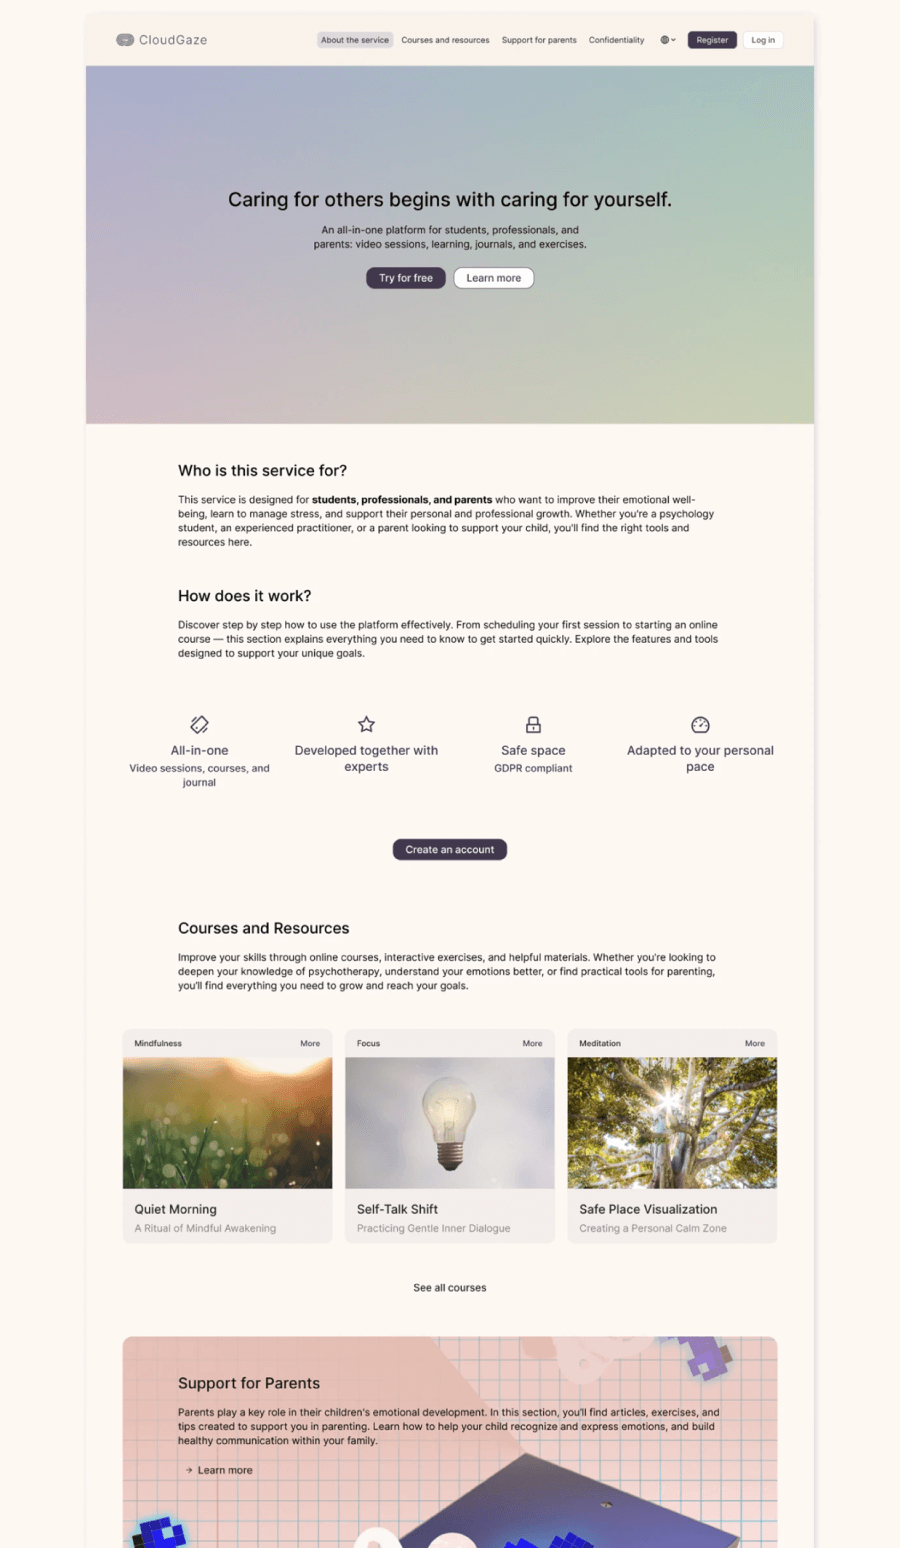
Here are the wireframes and final screenshots for the mental health platform CloudGaze by Darina Iyudina.
Low-fidelity wireframes:

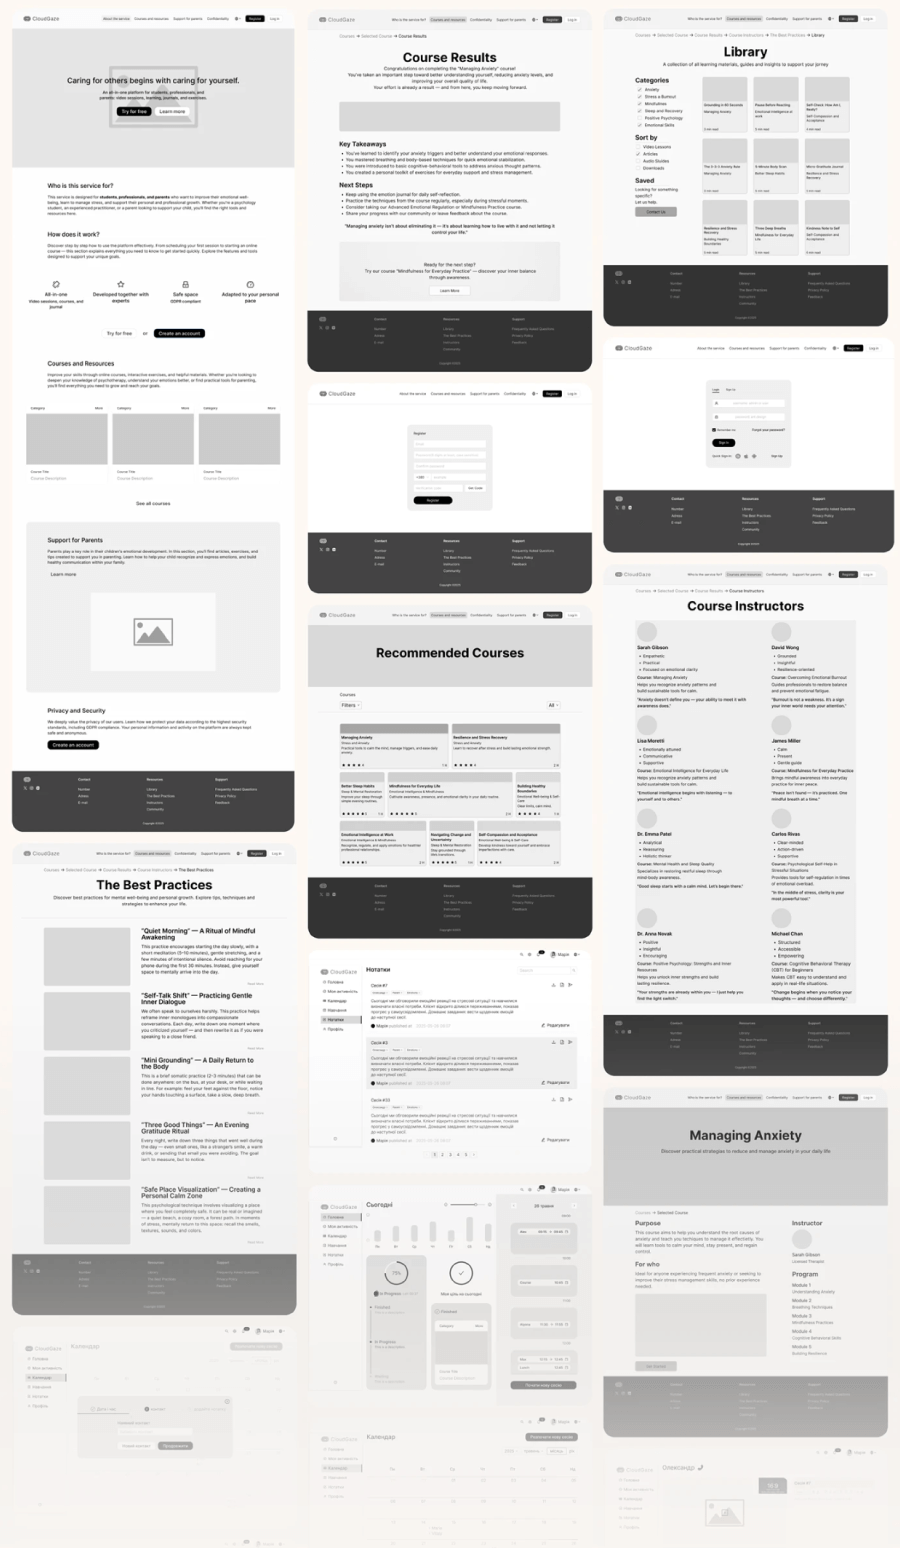
The final product:

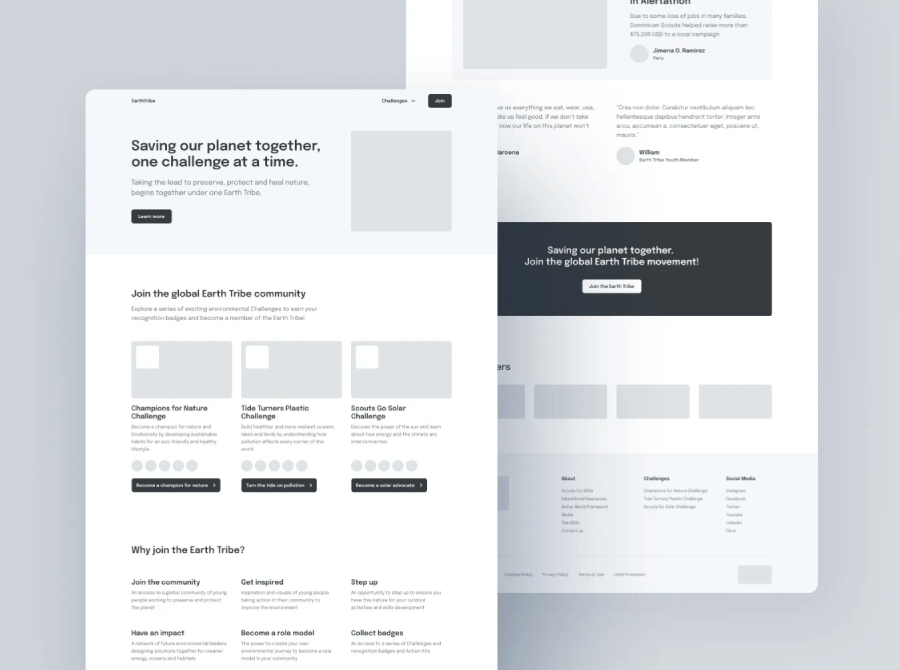
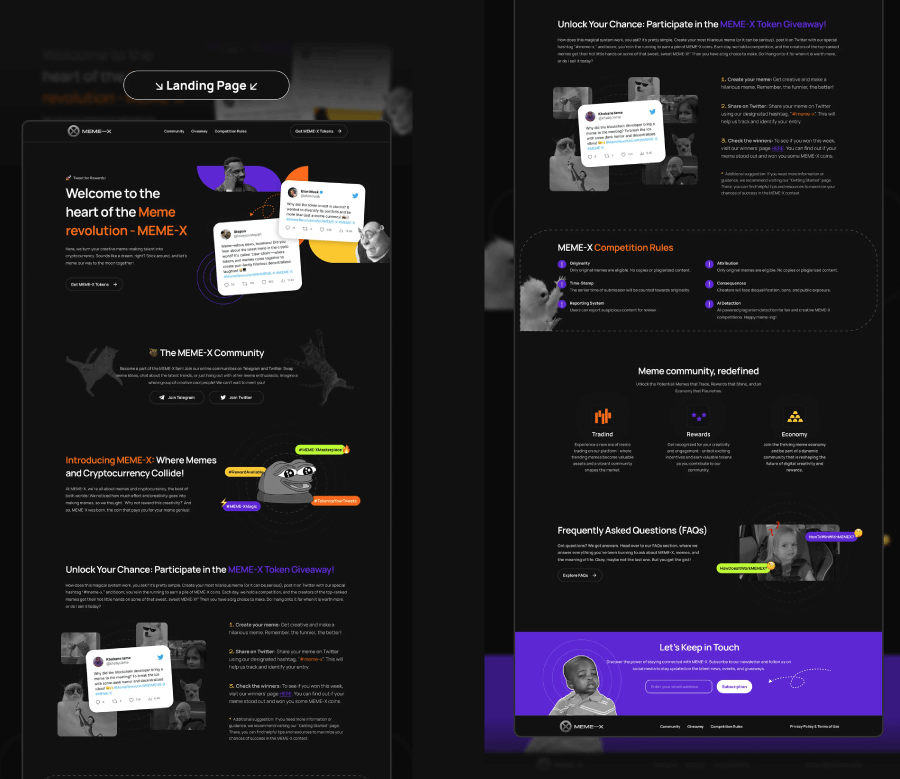
This website wireframe example shows a landing page concept for Meme X by Olha Olha. It gives a clear look at the page layout and how everything’s organized.
Low-fidelity wireframes:


The final product:

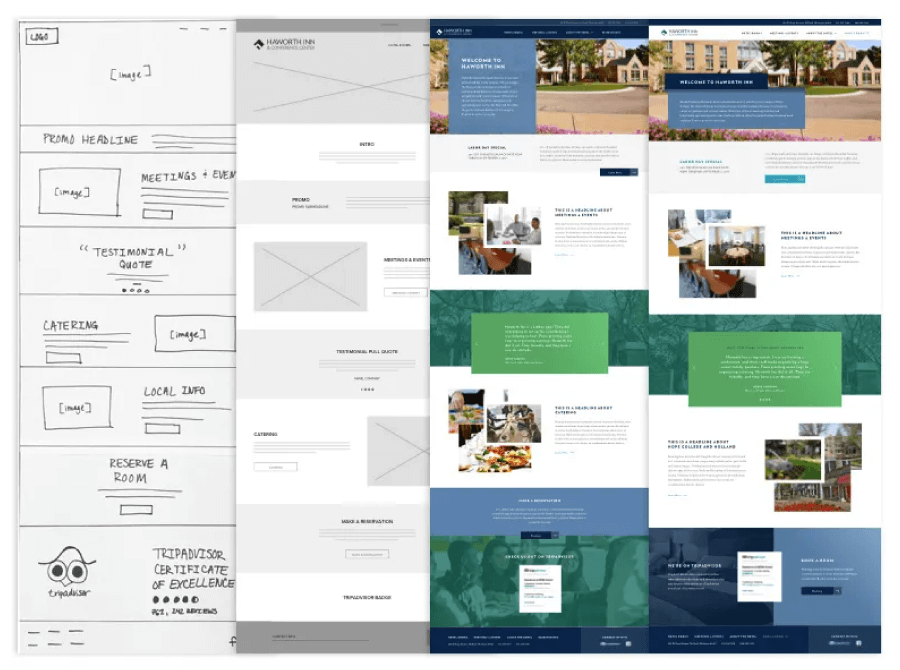
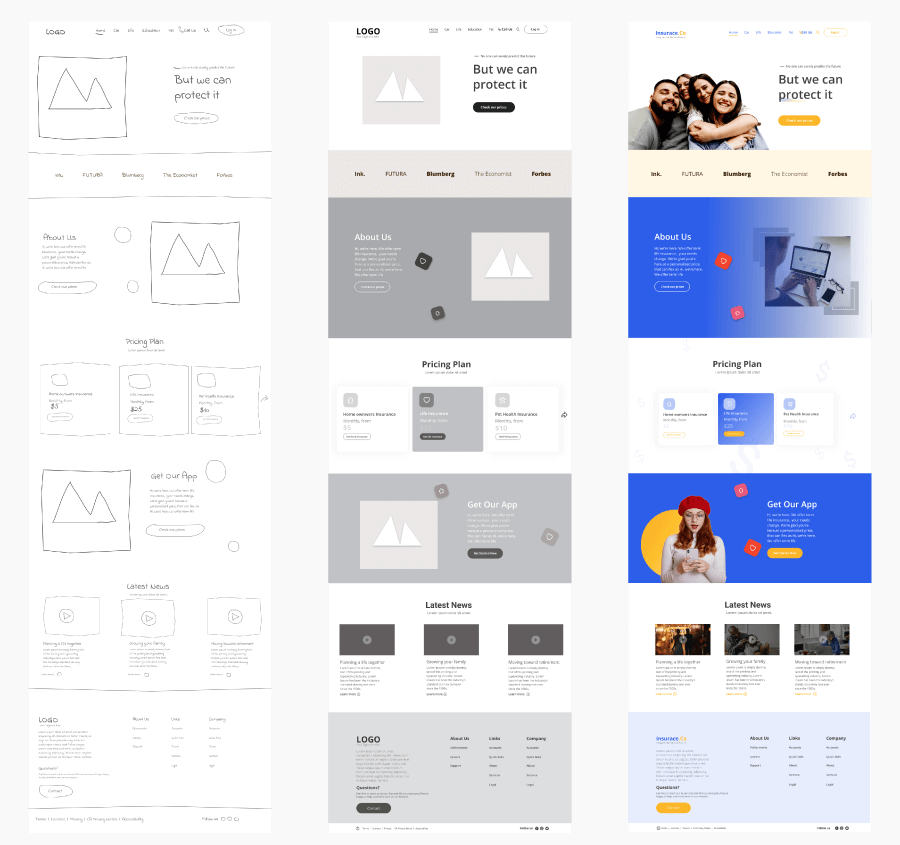
And last, the design concept for an insurance company by Sharin Khaham. You can see the whole progression, starting with rough sketches, moving into low-fidelity wireframes, and ending with the final design. It’s very satisfying to see them all lined up next to one another to see the evolution.

The most popular wireframing tools
Here’s a breakdown of a few favorites and their features.
Figma for speedy prototypes and ready-to-go layouts

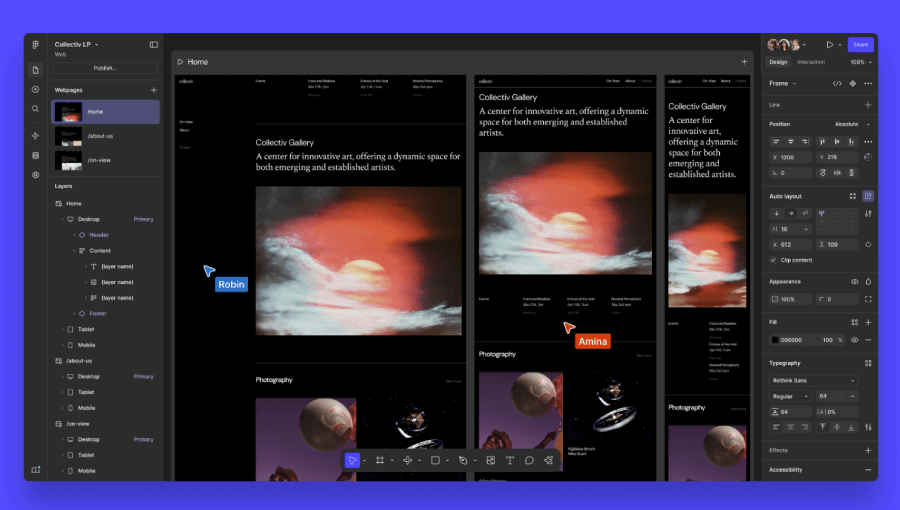
This tool is usually most designers’ first stop when they want to move fast. It’s web-based, so there’s no installing anything. You just open your browser and start designing. It also comes with wireframe kits that include all the basic UI elements, think nav bars, buttons, cards, and whole sections, so you don’t even need to start from scratch every time. You can drag elements in, tweak what you need, and turn static screens into clickable prototypes.
Figma also handles collaboration really well. Your clients can leave comments directly on the wireframes while you’re working on them. There’s even voice chat if you want to hash something out live. You can also connect it with tools like Slack, Jira, and Dropbox.
It’s free for personal projects only, otherwise, plans start at $16 per full seat per month.
Moqups for beginners who want to jump into the deep end

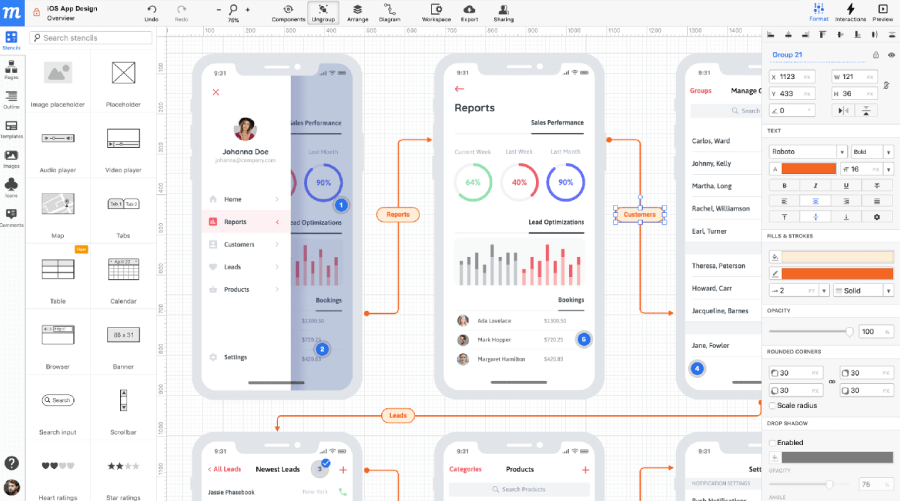
Moqups is awesome if you’re just starting out with wireframing and want something simple but still flexible. The interface is very approachable, even if you haven’t used many design tools before, and it doesn’t take long to get a wireframe going thanks to its drag-and-drop setup and handy UI stencils.
You can build mobile and web layouts as well as flowcharts without getting lost in advanced features. It also has basic team collaboration tools, like comments and simple shape overlays, so it’s fine for small teams or solo projects where you just want to share quick ideas.
You’ll need an internet connection though, and the export options are limited unless you’re on a paid plan. But if you’re not doing heavy-duty mockups and just want to sketch things out clearly, Moqups does the trick. Plans start at $9 per month, but you can try it for free with limited projects.
UXPin for teams working with code-based designs
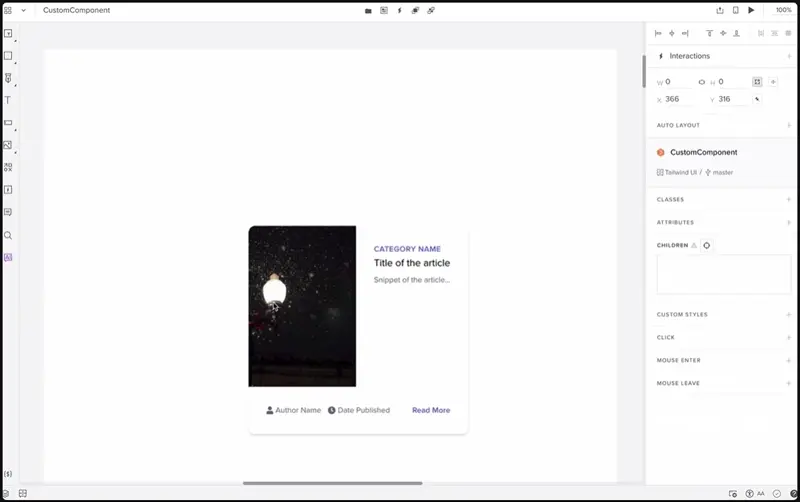
UXPin is a popular tool when your wireframes need to stay grounded in what’s actually doable in code. It does feel more technical than some other tools, but that’s kind of the point. You can import existing designs or start from scratch using a compact UI library, then bring in real components from code libraries like Git or Storybook.
That means what you design here is much closer to the final product, so there will be no surprises when it’s time to hand it off to developers. It’s also got solid features for team feedback, documentation, and approvals.
The interface takes some getting used to, however, and the pre-made UI kits are pretty limited, but if your team likes working fast and staying close to the dev side of things, this one delivers. It’s free for up to 2 prototypes, and paid plans start at $6 per editor per month.
Adobe XD for full-on UX projects
If you’re already using other Adobe products, switch over to Adobe XD. It comes with a bunch of built-in templates, so setting up wireframes is quick. It also works well across all sorts of design projects like apps, branding, game UIs, etc, so you can stay in one tool through different types of work.
XD also has cool animation features, and you can even export short videos of flows (Mac only, though). The tool used to cost $9.99 per month as a standalone product, but Adobe removed that option, and now XD is only available through the Creative Cloud Pro package subscription, with 20 apps that cost $69.99 per month for individuals. So, I recommend XD only if you already have such a subscription.
… And some of the best wireframe UI kits to try out
Figma Design System Starter

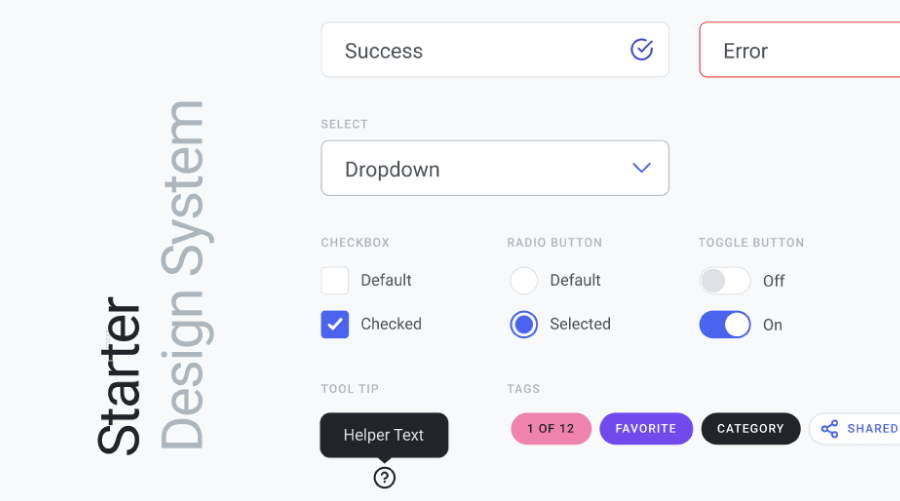
If you’re already building in Figma, this kit is a great place to start. It’s packed with UI elements that cover most design needs, and it plays well with all the latest Figma features so you’ll be moving fast.
Base 01 UI Kit

This one’s a solid choice when you want to move quickly without cutting corners. It’s full of reusable components and works with Figma’s most recent updates. Great for teams or solo designers.
Base 02 UI Kit

Similar to Base 01, but with its own flavor. It’s lightweight and gives you just what you need to build solid UI layouts without a ton of extra setup.
Glow UI Kit

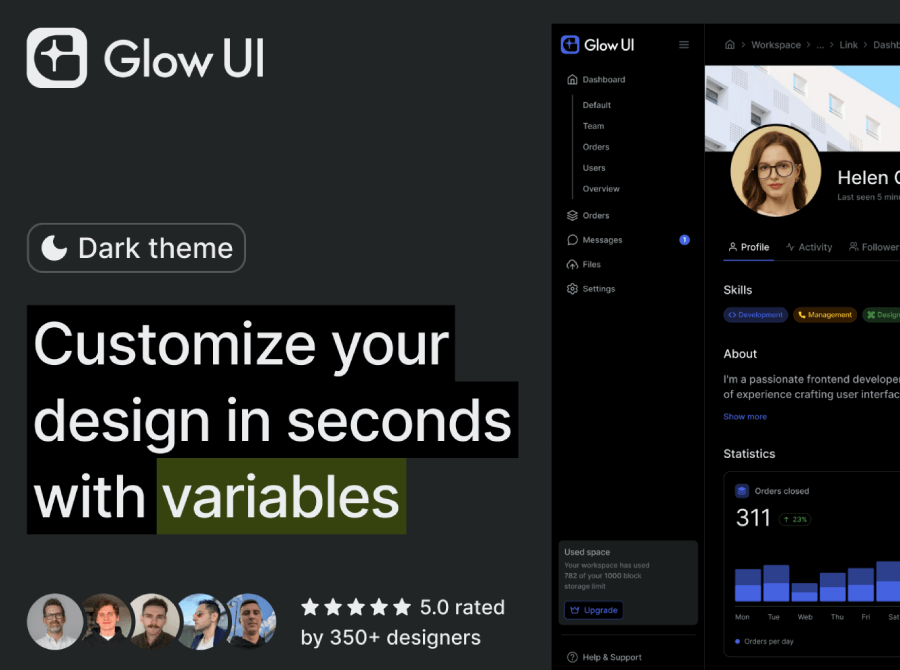
This one feels more polished and ready for production work. It’s a full design system that helps you go from idea to execution quickly. The components are well-built and organized. Great for teams if you guys and girls are working on bigger projects.
Fragments iOS Design Kit
When you’re designing specifically for iOS, Fragments has ready-made layouts and UI pieces that reflect current Apple design trends. Great option for when you’re building for mobile screens.
Sections Wireframe Kit

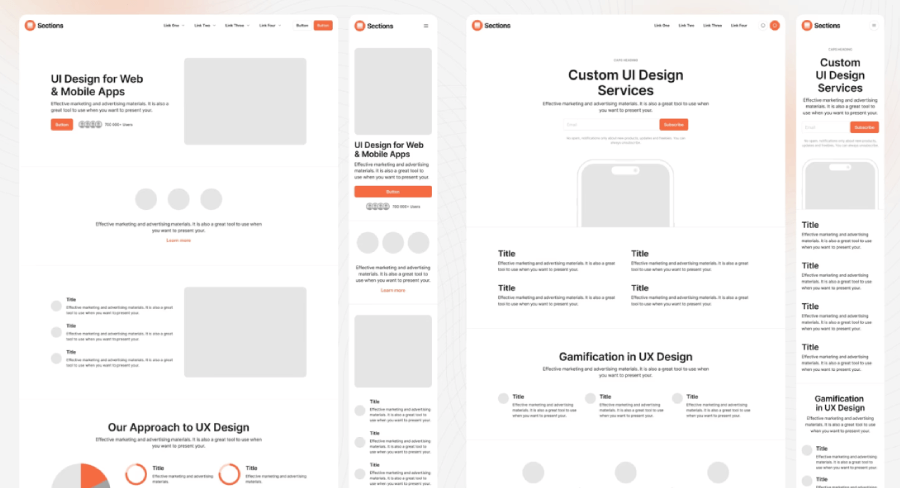
Sections come with a bunch of pre-built layouts that are easy to tweak. It’s ideal for quickly mocking up landing pages or full websites, and the built-in design system keeps everything consistent.
And there you have it!
Wireframing is a great place to start when you’re planning a new project or refreshing an old one. And if you’re curious about more design tools or need inspiration, we’ve got plenty of other guides worth checking out, just like the following: