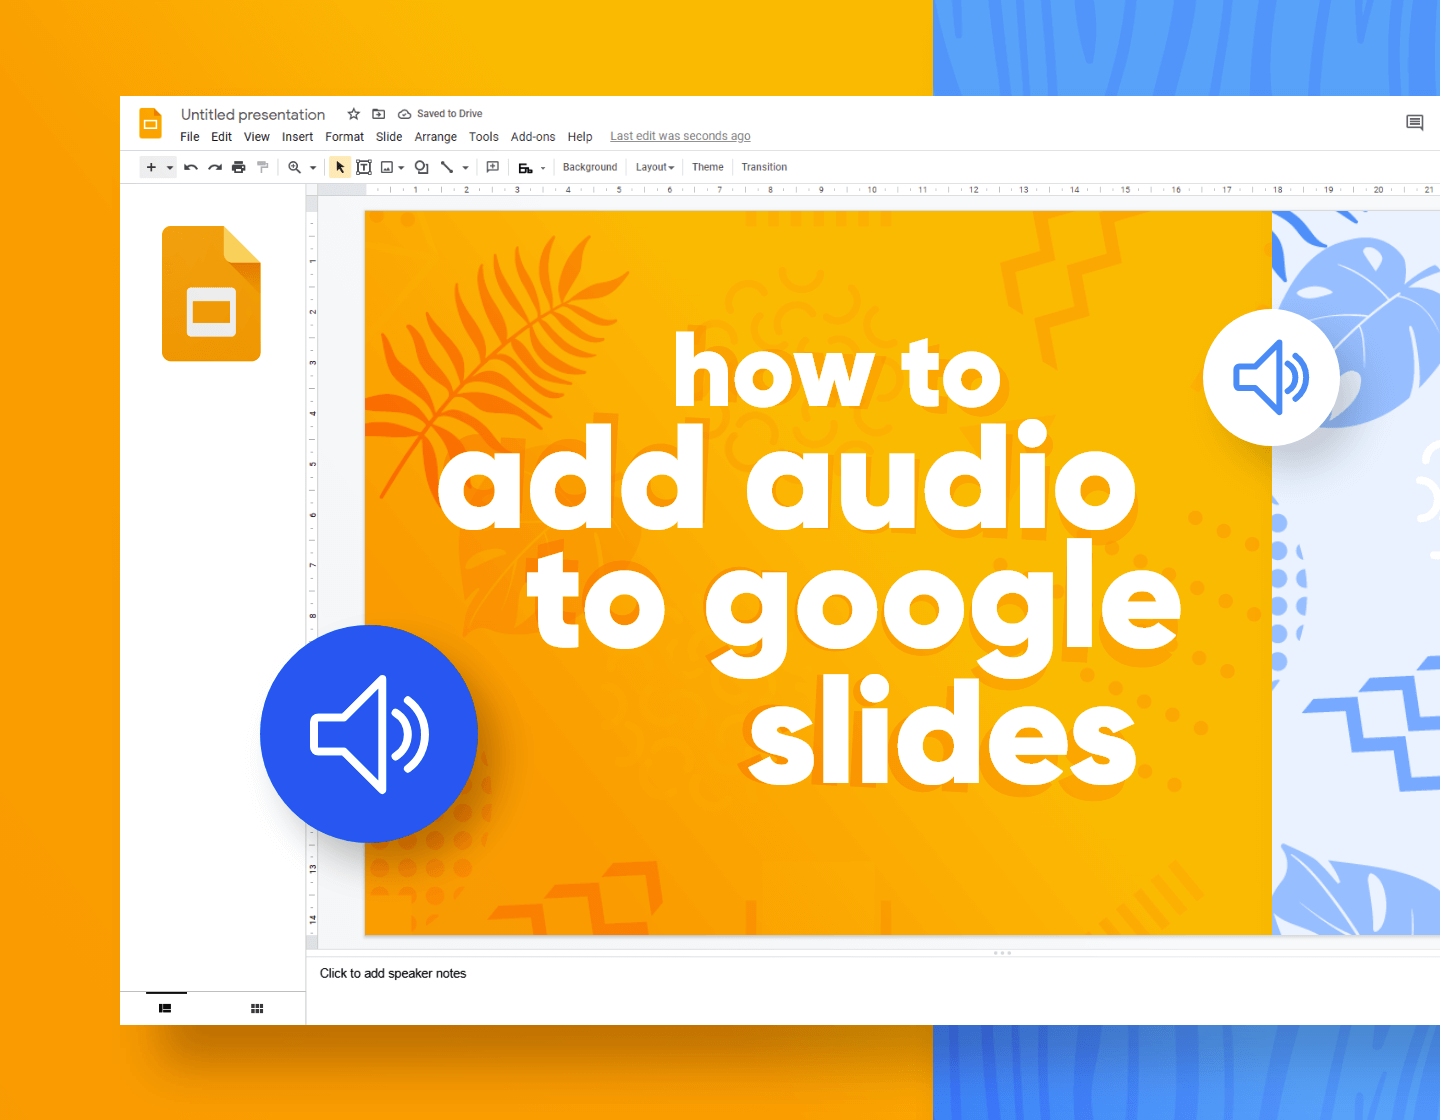
Google Slides is a very intuitive and preferred tool for presentations. Although it’s not as advanced as PowerPoint in terms of features and effects, it offers all the basics you need to unleash your creativity. For instance, you can bring a lot of atmosphere to your presentation by adding audio. And today, I’m going to teach you just that in a step-by-step tutorial on how to add audio to Google Slides.
Benefits of adding audio to Google Slides
There are many reasons why you should add music to your Google Slides presentation. Music is a great way to immerse your viewers in what you’re presenting. In fact, choosing the right records for your slides can help them understand your message better.
More importantly, you can also voiceover on Google Slides. This is an ideal solution when you’re making a presentation offline for people to see it independently in their own time.
Step 1: Store your audio files in Google Drive
First, you need to have copies of the audio files you wish to use in your Google Drive.
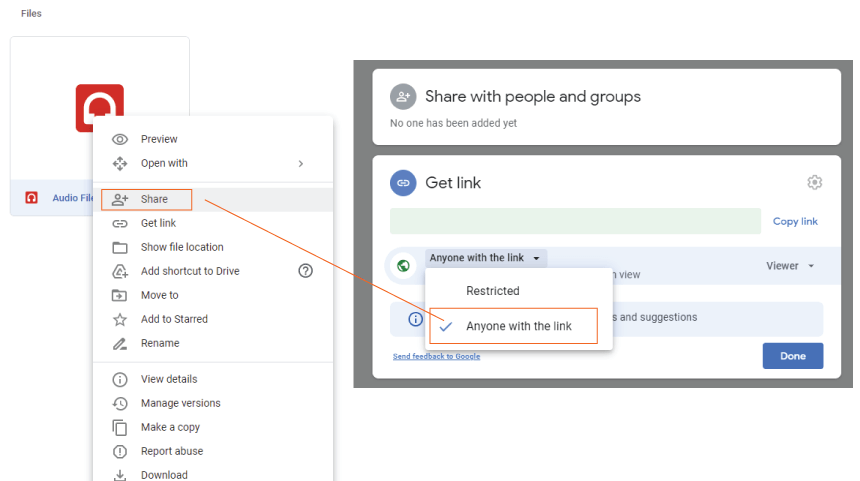
Before you decide to start adding any of them to your presentation, make sure the audio files aren’t restricted. This is especially important for viewers, who will be watching your presentation on another device that isn’t logged into your Google account. If the audio files are restricted, these viewers won’t be able to hear them. They will instead see a popup with the message “You need permission to play this audio file”.
So here’s how you can prevent that. Just go to your specific audio file, give it a right-click and choose the Share option. A window will pop up, showing you the sharing options. Click “Change to Anyone with the Link” and change it from “Restricted” to “Anyone with the link”. Make sure the permission says “Viewer”. Then click “Done“.

Now your audio file will be accessible to everyone who views your presentation.
By the way, if you have multiple audio files for your Google Slides presentation, instead of removing their restriction one by one, you can put them in a folder and apply that action to it.
Once your files are accessible, you can start adding Music to Google Slides.
Step 2: Go to Insert/Audio

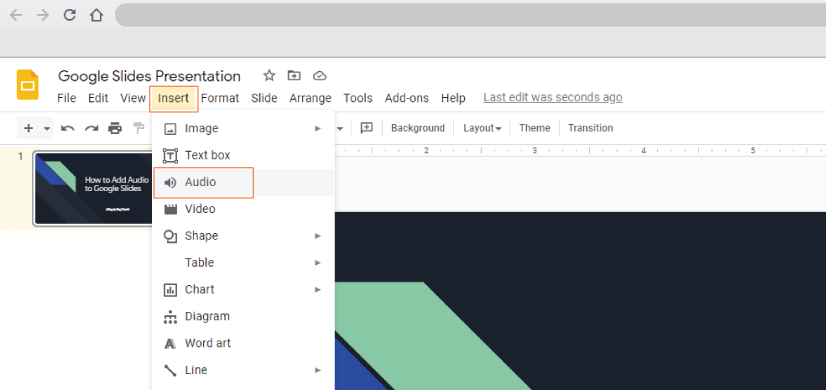
Once you go to Insert/Audio, the tool will open a window to your Google Drive, showing all your audio files that you can choose from.
📝 Note: Google Slides supports Mp3 and WAV audio formats

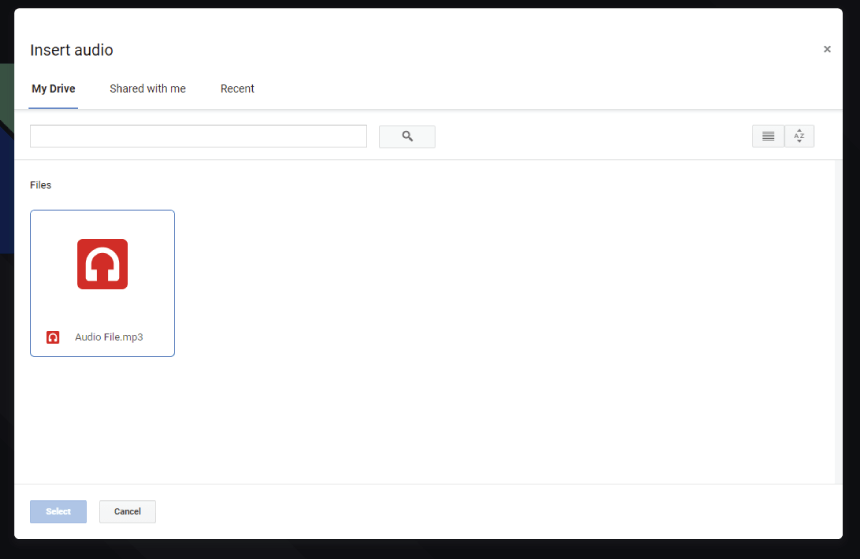
Find your file and click the Select button.
Now your audio file will be embedded in your slide like this.


Step 3: Format Options
If you click the audio speaker icon on your slide, the Format Options will appear in the panel right of your screen.

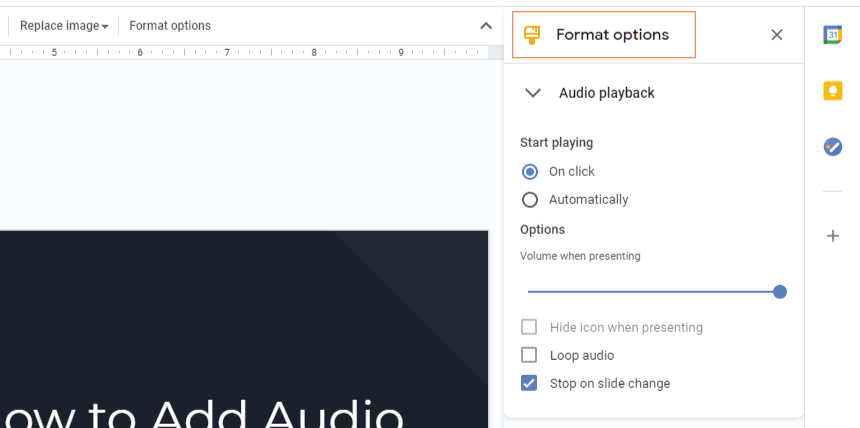
Here’s what you can do with your audio file.
Drag and place your speaker icon: This is especially nice when you have multiple audio files in one slide that play on click and respond to different elements. For example, if you have a slide with characters in a situation, you can put an audio file with each character’s line. This way your viewers can click on it and hear what the character has to say.
- Audio on click: With this option, the audio in your slide will start playing once the viewer clicks the icon.
- Play audio automatically: If you choose so, you can add your mp3 or WAV file to play automatically instead without the need to click the icon.
- Hide icon when presenting: For automatic audio files, you can also hide the speaker button as you won’t really need to see it on screen.
- Loop audio: This option is good especially for background music, allowing it to play over and over again.
- Stop on slide change: Here you have two options. If that option is checked, your music file will stop once the viewer changes the slide. In case you uncheck the option, the audio will continue to play when the viewer changes the slides.
You can test all these options and see what works best for your presentation. In editing mode, you can preview and play the audio files by hovering over the speaker icon or by selecting it and clicking play. In presentation mode, you can do so by clicking on the icon to play the audio, or you can hover and click play.


And that’s it.
But wait! What about narrating your own audio?
Step 4: How to Add Voice To Google Slides
Google Slides doesn’t have a recording option, however, there are other ways to make that happen.
Same as with the other audio files, you will need to upload your recordings as Mp3 or WAV in Google Drive and remove the file’s restriction. So, what are your best options to narrate to Google Slides?
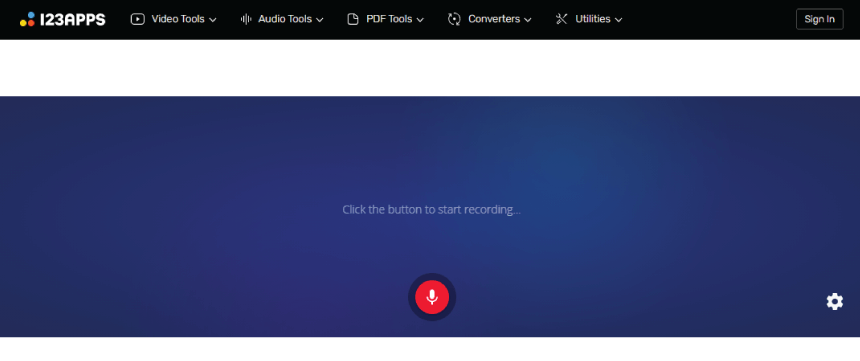
Online Voice Recorder
This free online tool allows you to record directly without the need to install the software. It’s compatible with PC, Mac, and Chromebook, and it’s incredibly simple. One of the most popular ways of how to record voice on Google Slides.

How it works:
- Go to Online Voice Recorder.
- Click the mic icon to start recording.
- Give permission to the tool to use your microphone. The website will require this permission only the first time you visit it.
- Once you’re finished recording your narration, click Stop.
- The tool will open a screen with your recording. You can review, edit and trim to remove unnecessary parts.
- Click Save.
- The tool will let you automatically download your recording as an Mp3 file.
- Once you’re done, upload your file in Google Drive and give it permission “Anyone with a link can be a viewer”.
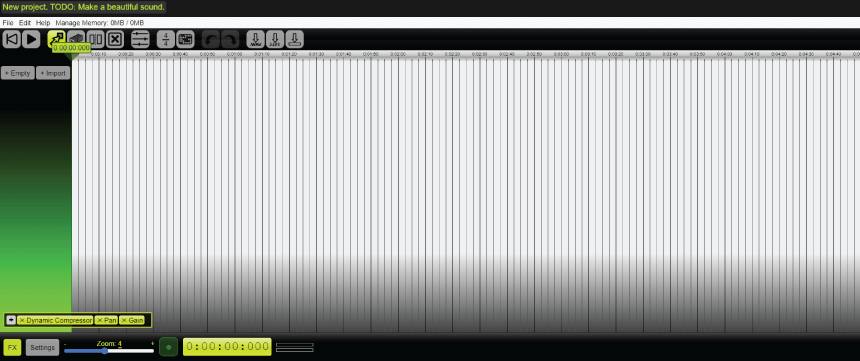
Beautiful Audio Editor
This demo tool is also a great way to capture your narration online. It’s easy to use and offers a lot of editing options.

How it works:
- Go to Beautiful Audio Editor.
- Click the Record icon at the bottom to start recording
- Give permission to the tool to use your microphone. The website will require this permission only the first time you visit it.
- Once you’re finished recording your narration, click Stop.
- Your recording is added to the editor and you can start editing. You have options to change audio speed, combine tracks, fade in/fade out and other features you can check in the Help menu.
- Use Split Section and Remove Section to trim your audio file
- Click Download as Mp3 to save.
📝 Note: Beautiful Audio Editor also exists as a Chrome extension, compatible with Google Drive.
TwistedWave
This tool is a browser-based audio editor. You only need a web browser to access it, and you can use it to record or edit any audio file.

How it works:
- Go to TwistedWave.
- Click New Document and the Record icon to start your recording.
- Give permission to the tool to use your microphone. The website will require this permission only the first time you visit it.
- Once you’re finished recording your narration, click Stop.
- Your recording is added to the editor and you can start editing.
- Once you’re done, you can download your file by clicking File then Save to Google Drive.
- Log in with your Google account and give permission.
You’re all set with a narrated presentation.
Conclusion
And this is how to add voice-over and insert audio files in your Google Slides presentation. Once you know the basics, you can go creative and do some pretty amazing stuff to blow your viewer’s minds.
In the meantime, why not take a tour around and see: